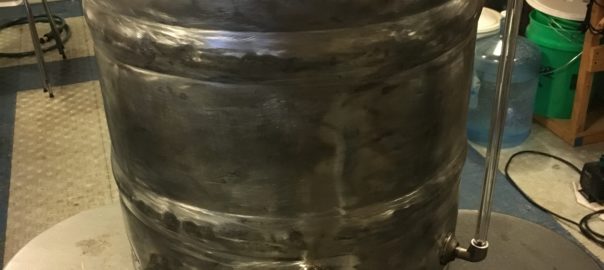
I know that turning a stainless steel half-barrel keg into a brew vessel is nothing new, but I wanted to document this one for a specific reason: instead of weldless fittings, I used silver soldered pull-through bulkheads and a welding spud. This version of the keggle will feature a bulkhead with dip tube, bulkhead with whirlpool port, and spud for a sight glass. Eventually I would like to add a tri-clamp flange and completely convert my brewery to electric, but that’s for another day…
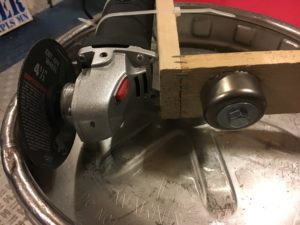
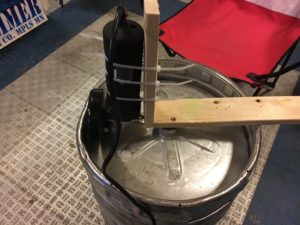
So let’s get started! First, we have to get the top off. Since this will be propane powered, no bottom drain, so the top sanke connection of the keg is coming off. I have used a similar jig for both of the kegs I have converted. A 1″ hole saw bit should fit right in the spear opening (if you have never taken a sanke spear out, YouTube it. It’s way easier to watch for an explanation).
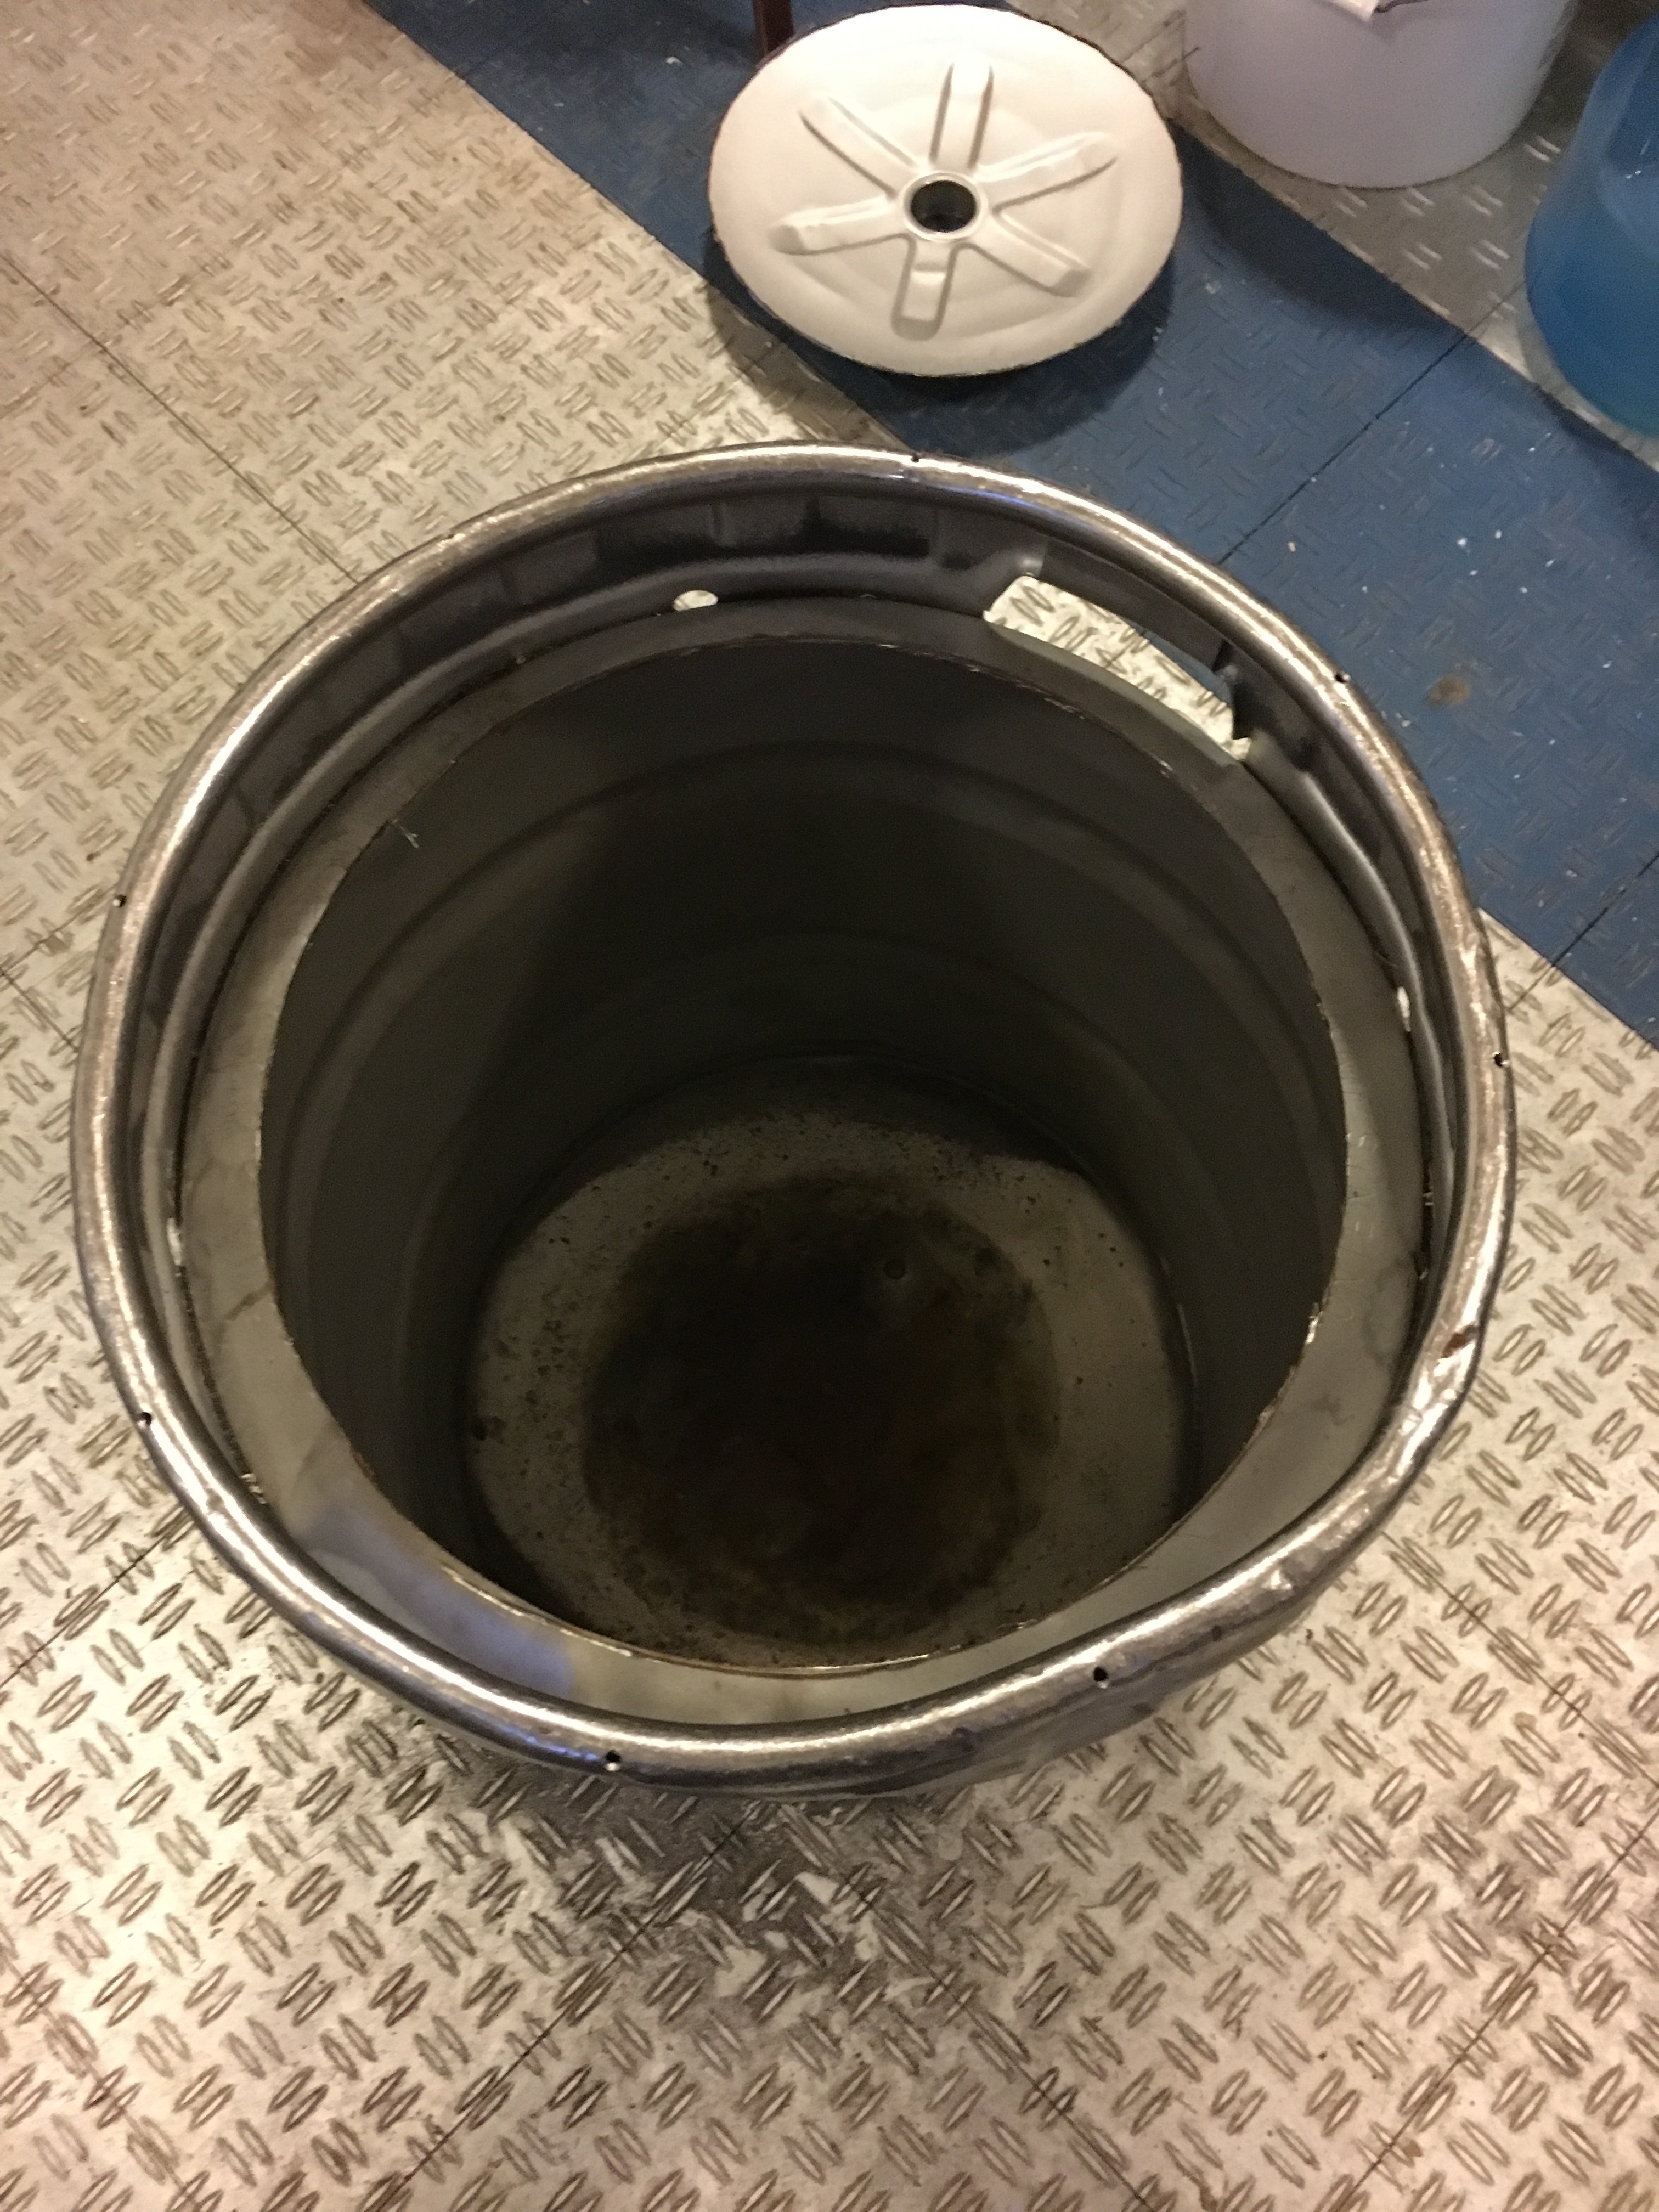
 With the top off, the edge is going to be sharp, SO BE CAREFUL!! I used 3 levels of flap discs (36 grit, 80 grit, and 120 grit) on this one, as you can see the edge was aggressive from my cutting job – but it was round! I didn’t take a photo, but make sure you wear eye protection, ear plugs/covers, and gloves. You can even drop a couple gallons of water in if you want, the cutting noise is amplified in the cylinder shape.
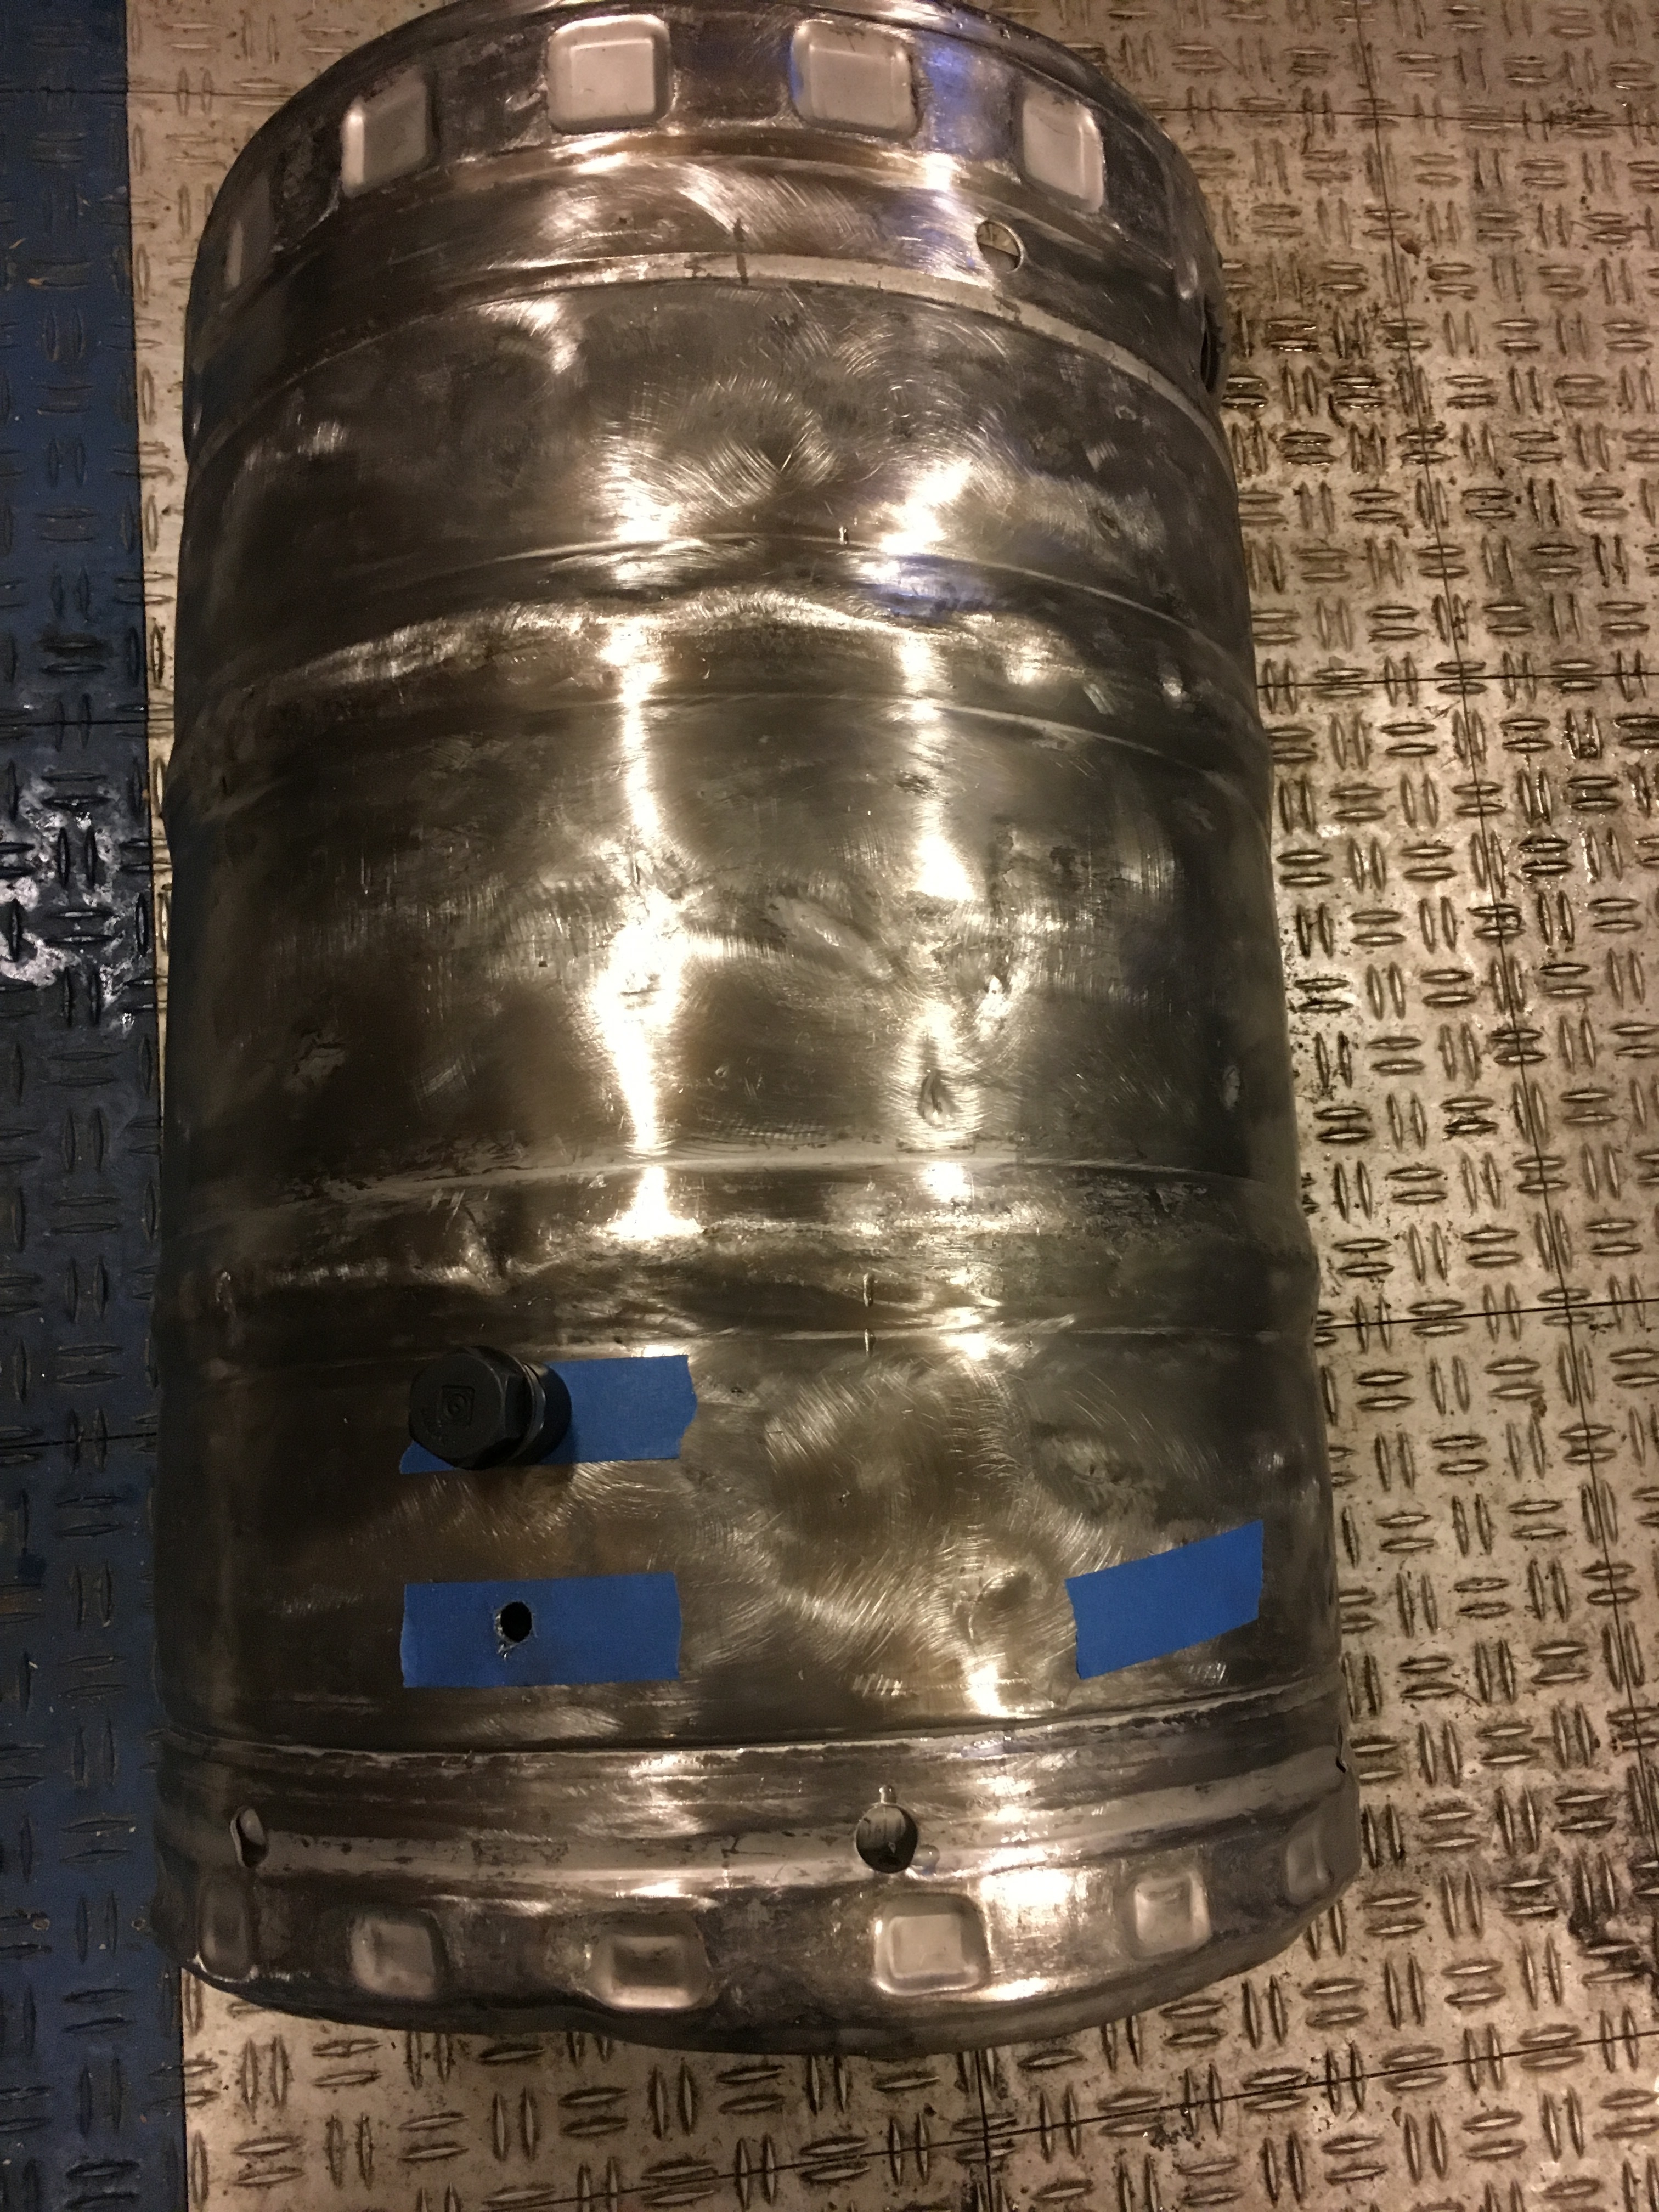
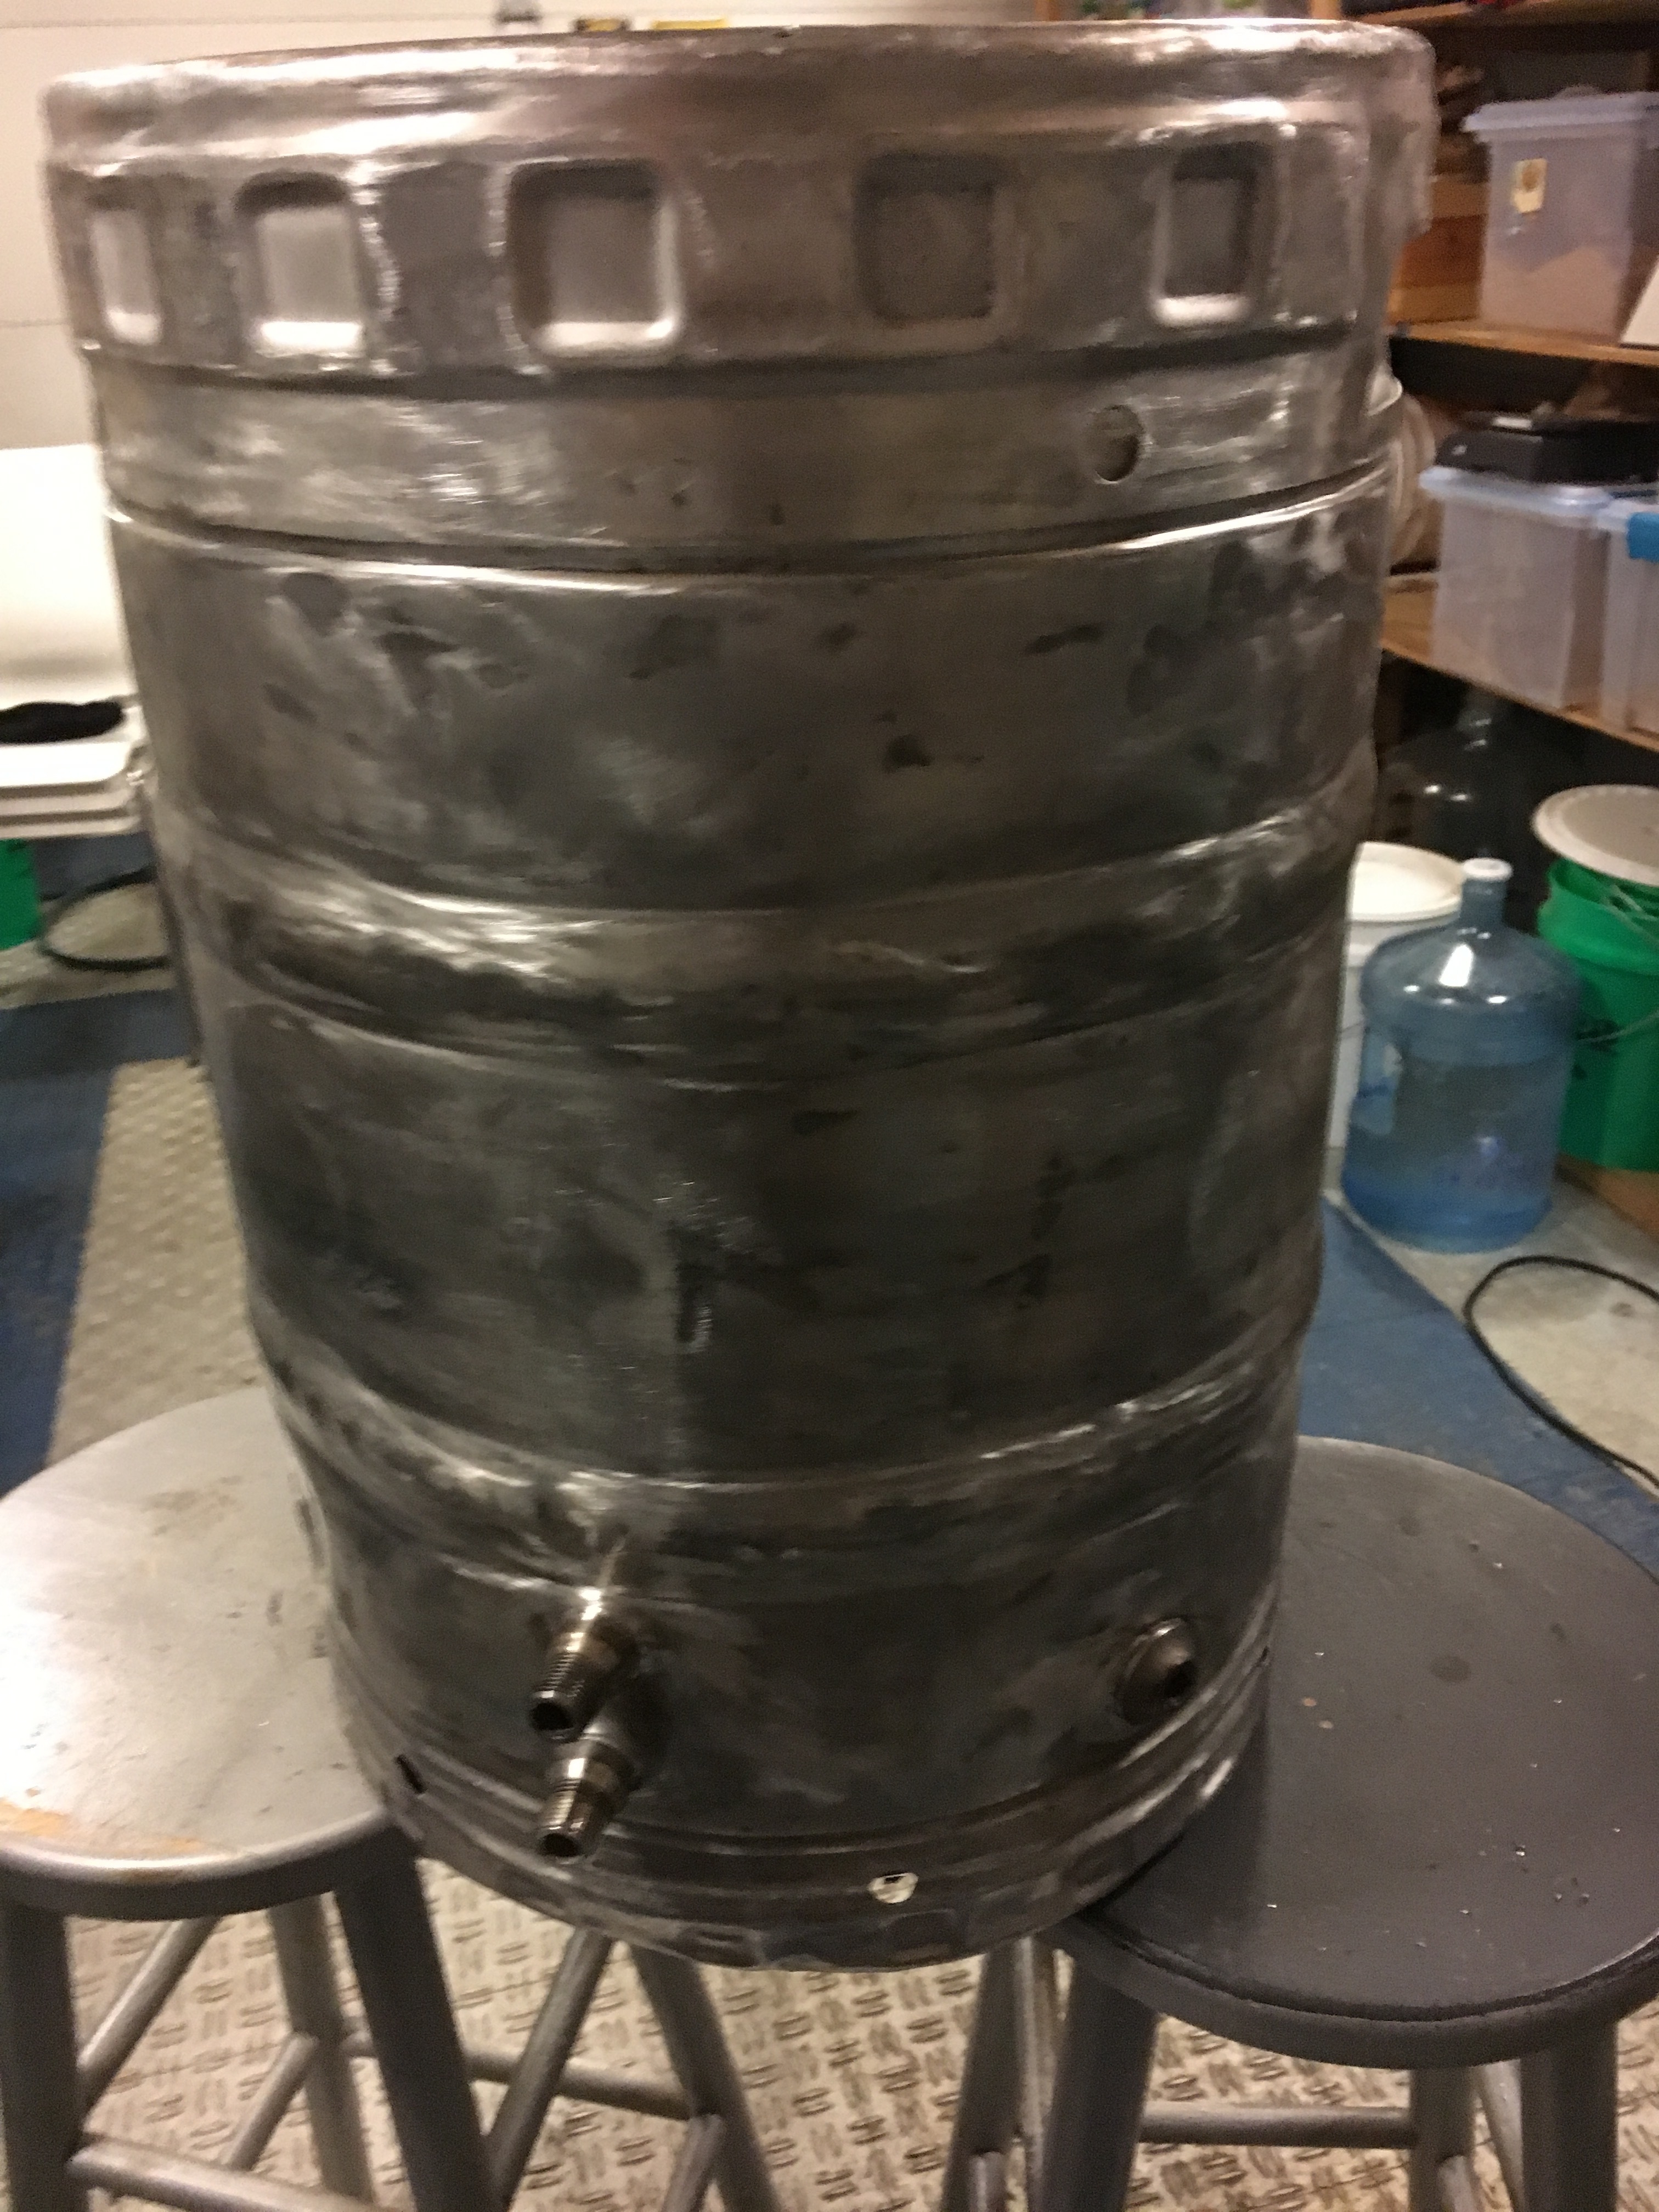
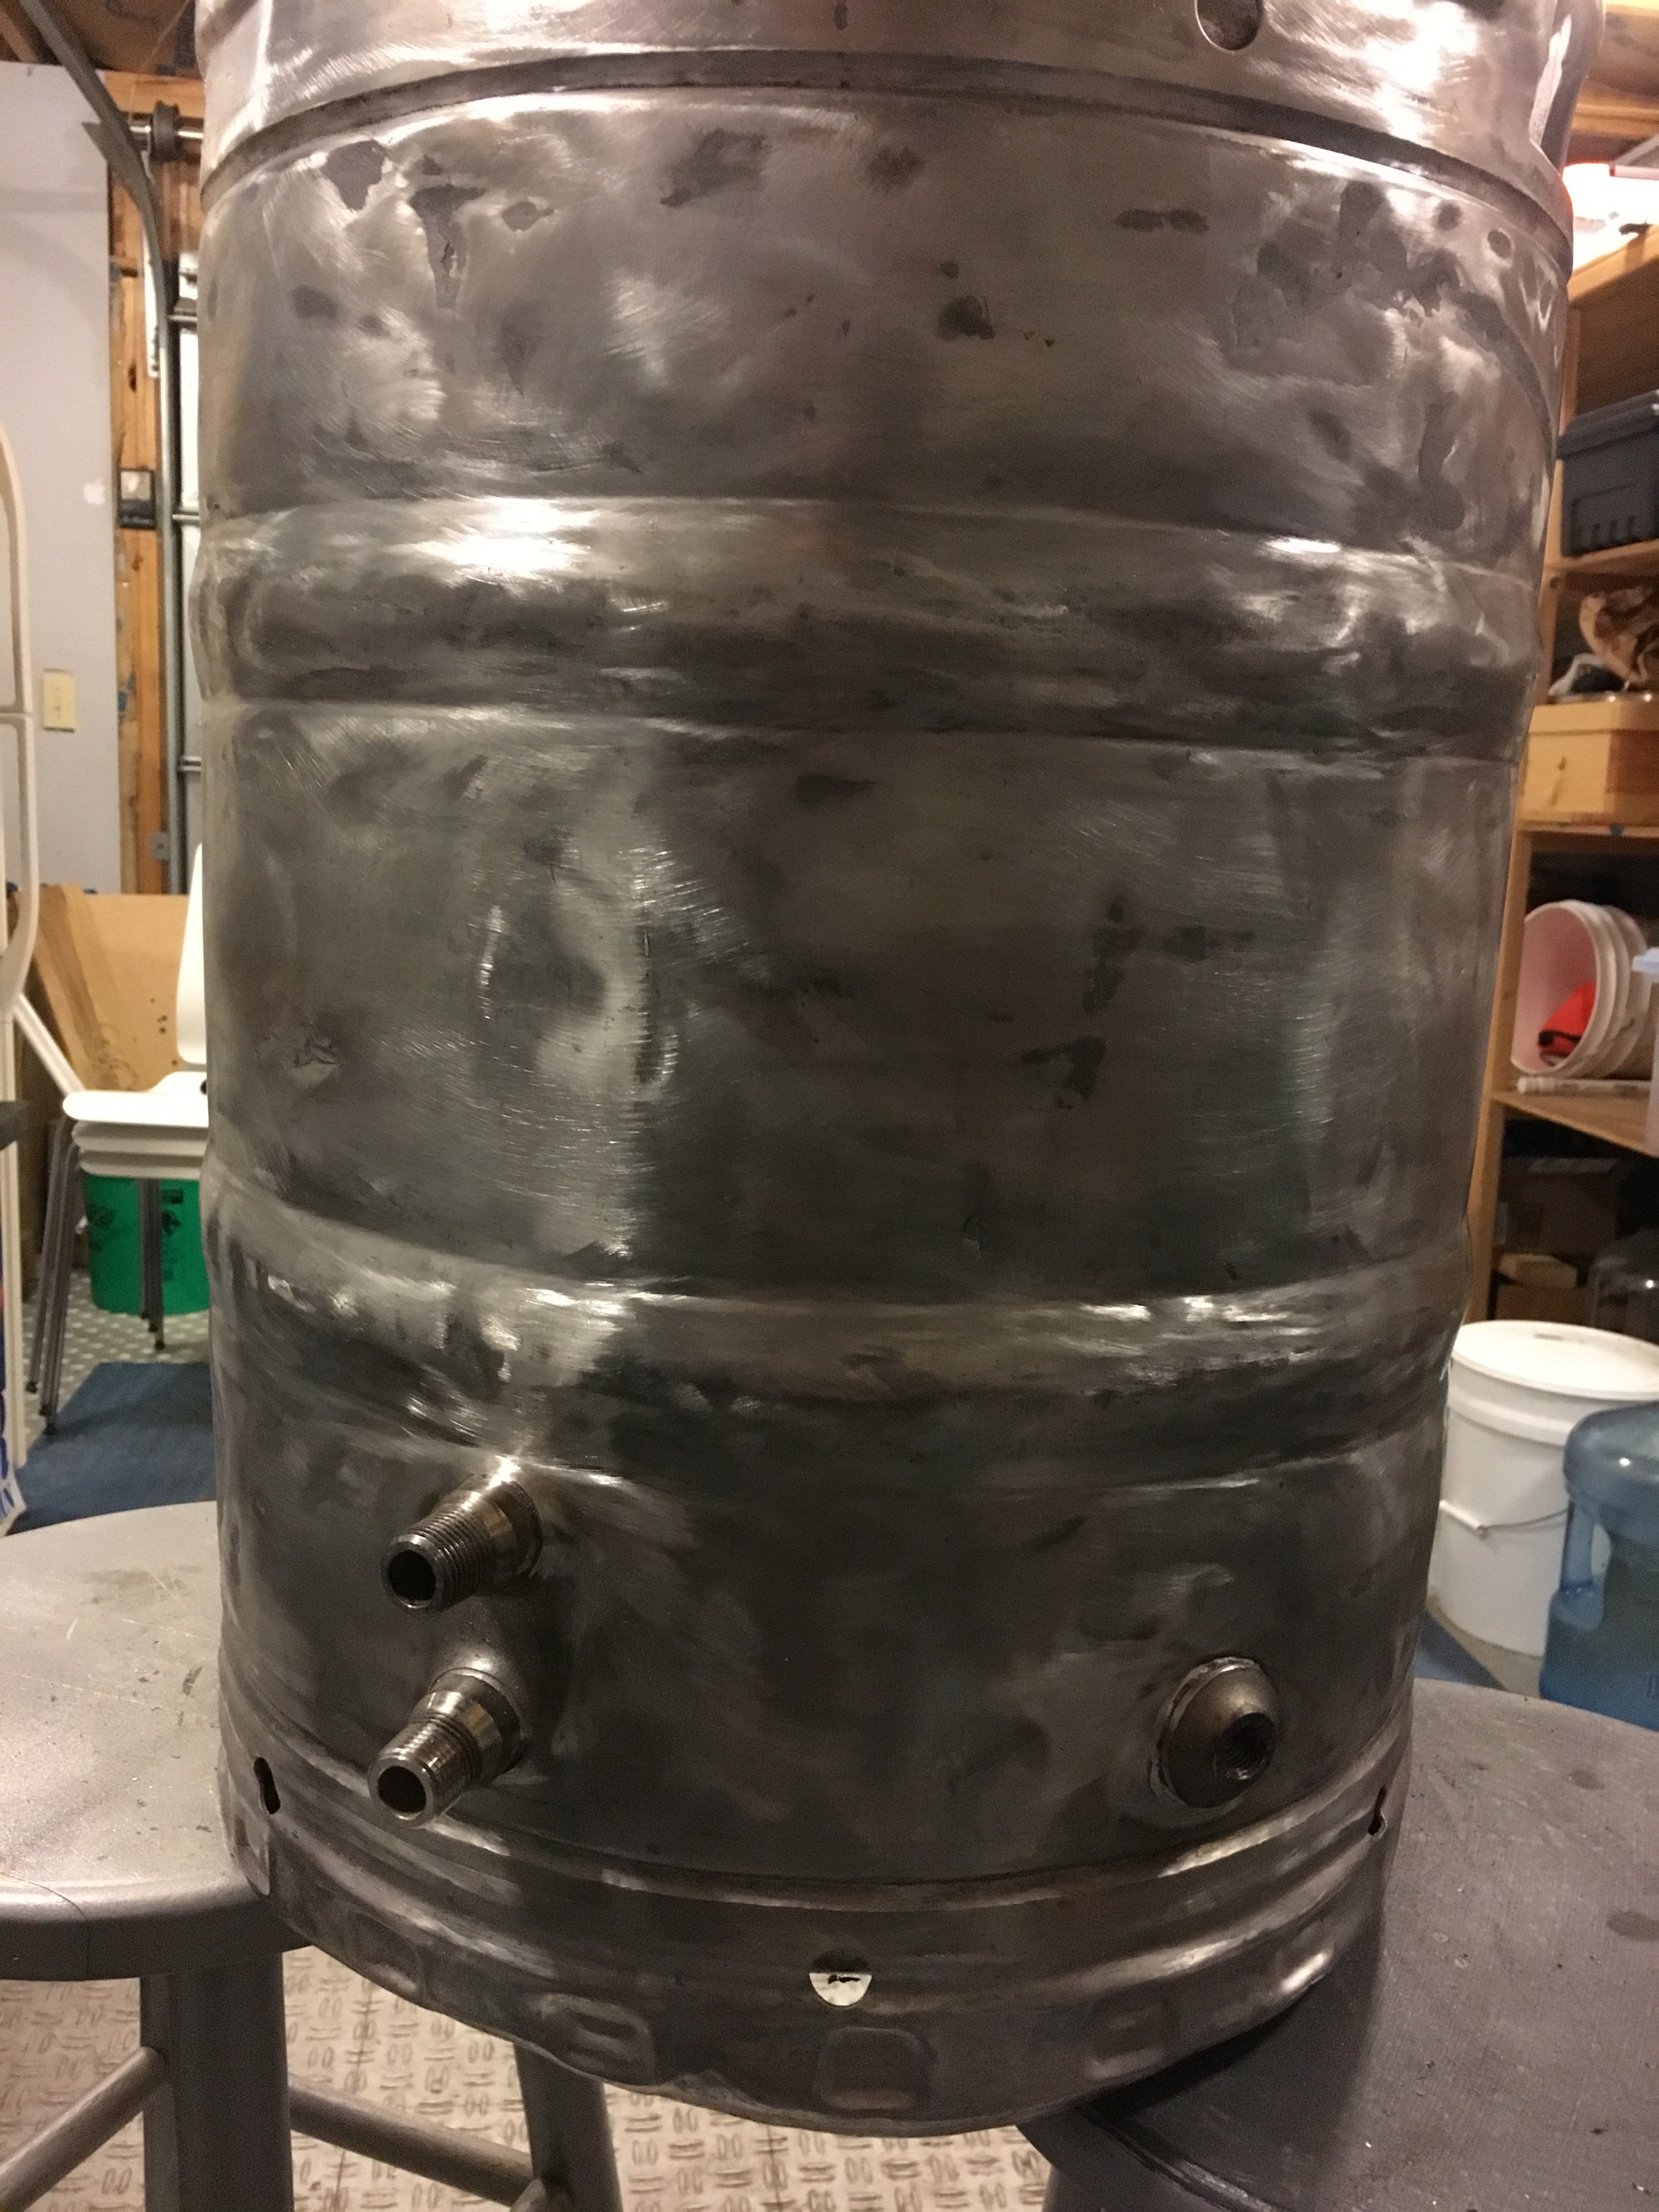
Now it’s time to add these goodies from BrewHardware.com to the brew pot. You can see the pull-through bulkheads, welding spud, sig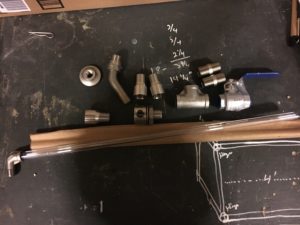 ht glass, dip tube, and whirlpool port. I used painter’s tape to mark out where I wanted my bulkheads to go. The bottom hole is 3 3/4″ from the bottom of the keg, which was as close to the keg weld as I was comfortable going. The top inlet port for whirlpooling is very close to the rib on the keg as well, but I mostly do 5 gallon batches and wanted it low. I am using a “T” off the bottom bulkhead, if I wasn’t using that, the two would be too close to get ball valves on each bulkhead. An FYI for when you are lining up your holes.

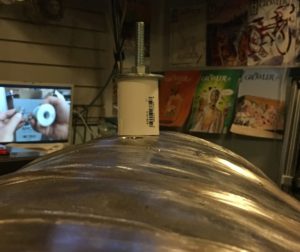
Now to pull the bulkhead fittings through the keg. The key is the pull-through tool. I put one together using a bolt, washers, 1″ PVC coupler, and nut. Pull the fitting from the inside of the vessel, and it will create a nice valley on the inside for the solder to pool.
With a simple sheet of fine grit sandpaper or sanding block, make sure to clean up the edge of the holes and rough up the inside of the kettle wall to give the solder a good surface to bond to. Then clean it up with acetone to get all of the oils and dust off the vessel.
Slide the fitting onto the bolt and washers. Before pulling through the fittings, I recommend also cleaning them with acetone, this makes sure no machine oil is on the part. Clean fittings allow for better wetting of the flux and solder to bond. I did end up adding more washers to each side for the second fitting – those keg walls are thick compared to the Bayou Classic kettle I had done previously.
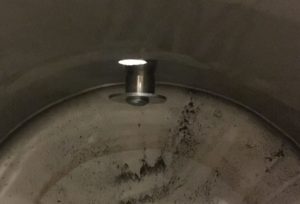
Here you can see the tool with the 1″ washer inside the PVC coupling. This helps keep it centered as you pull the fitting into the hole. Then the fitting on the inside of the kettle, and coupler on the outside that gives the bulkhead room to pass.
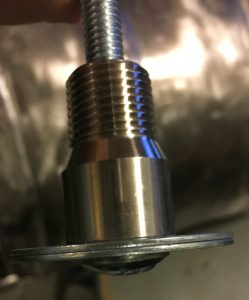
Pay attention as you tighten the tool, as you don’t want to pull the fitting all the way through. The dimple created should look nice and tight from the outside – I have read claims that the dimple alone is nearly water tight. The dimple creates a perfect valley for the solder.
Here is the key to soldering stainless steel: you MUST use liquid flux (not the plumbing paste) and silver solder – the 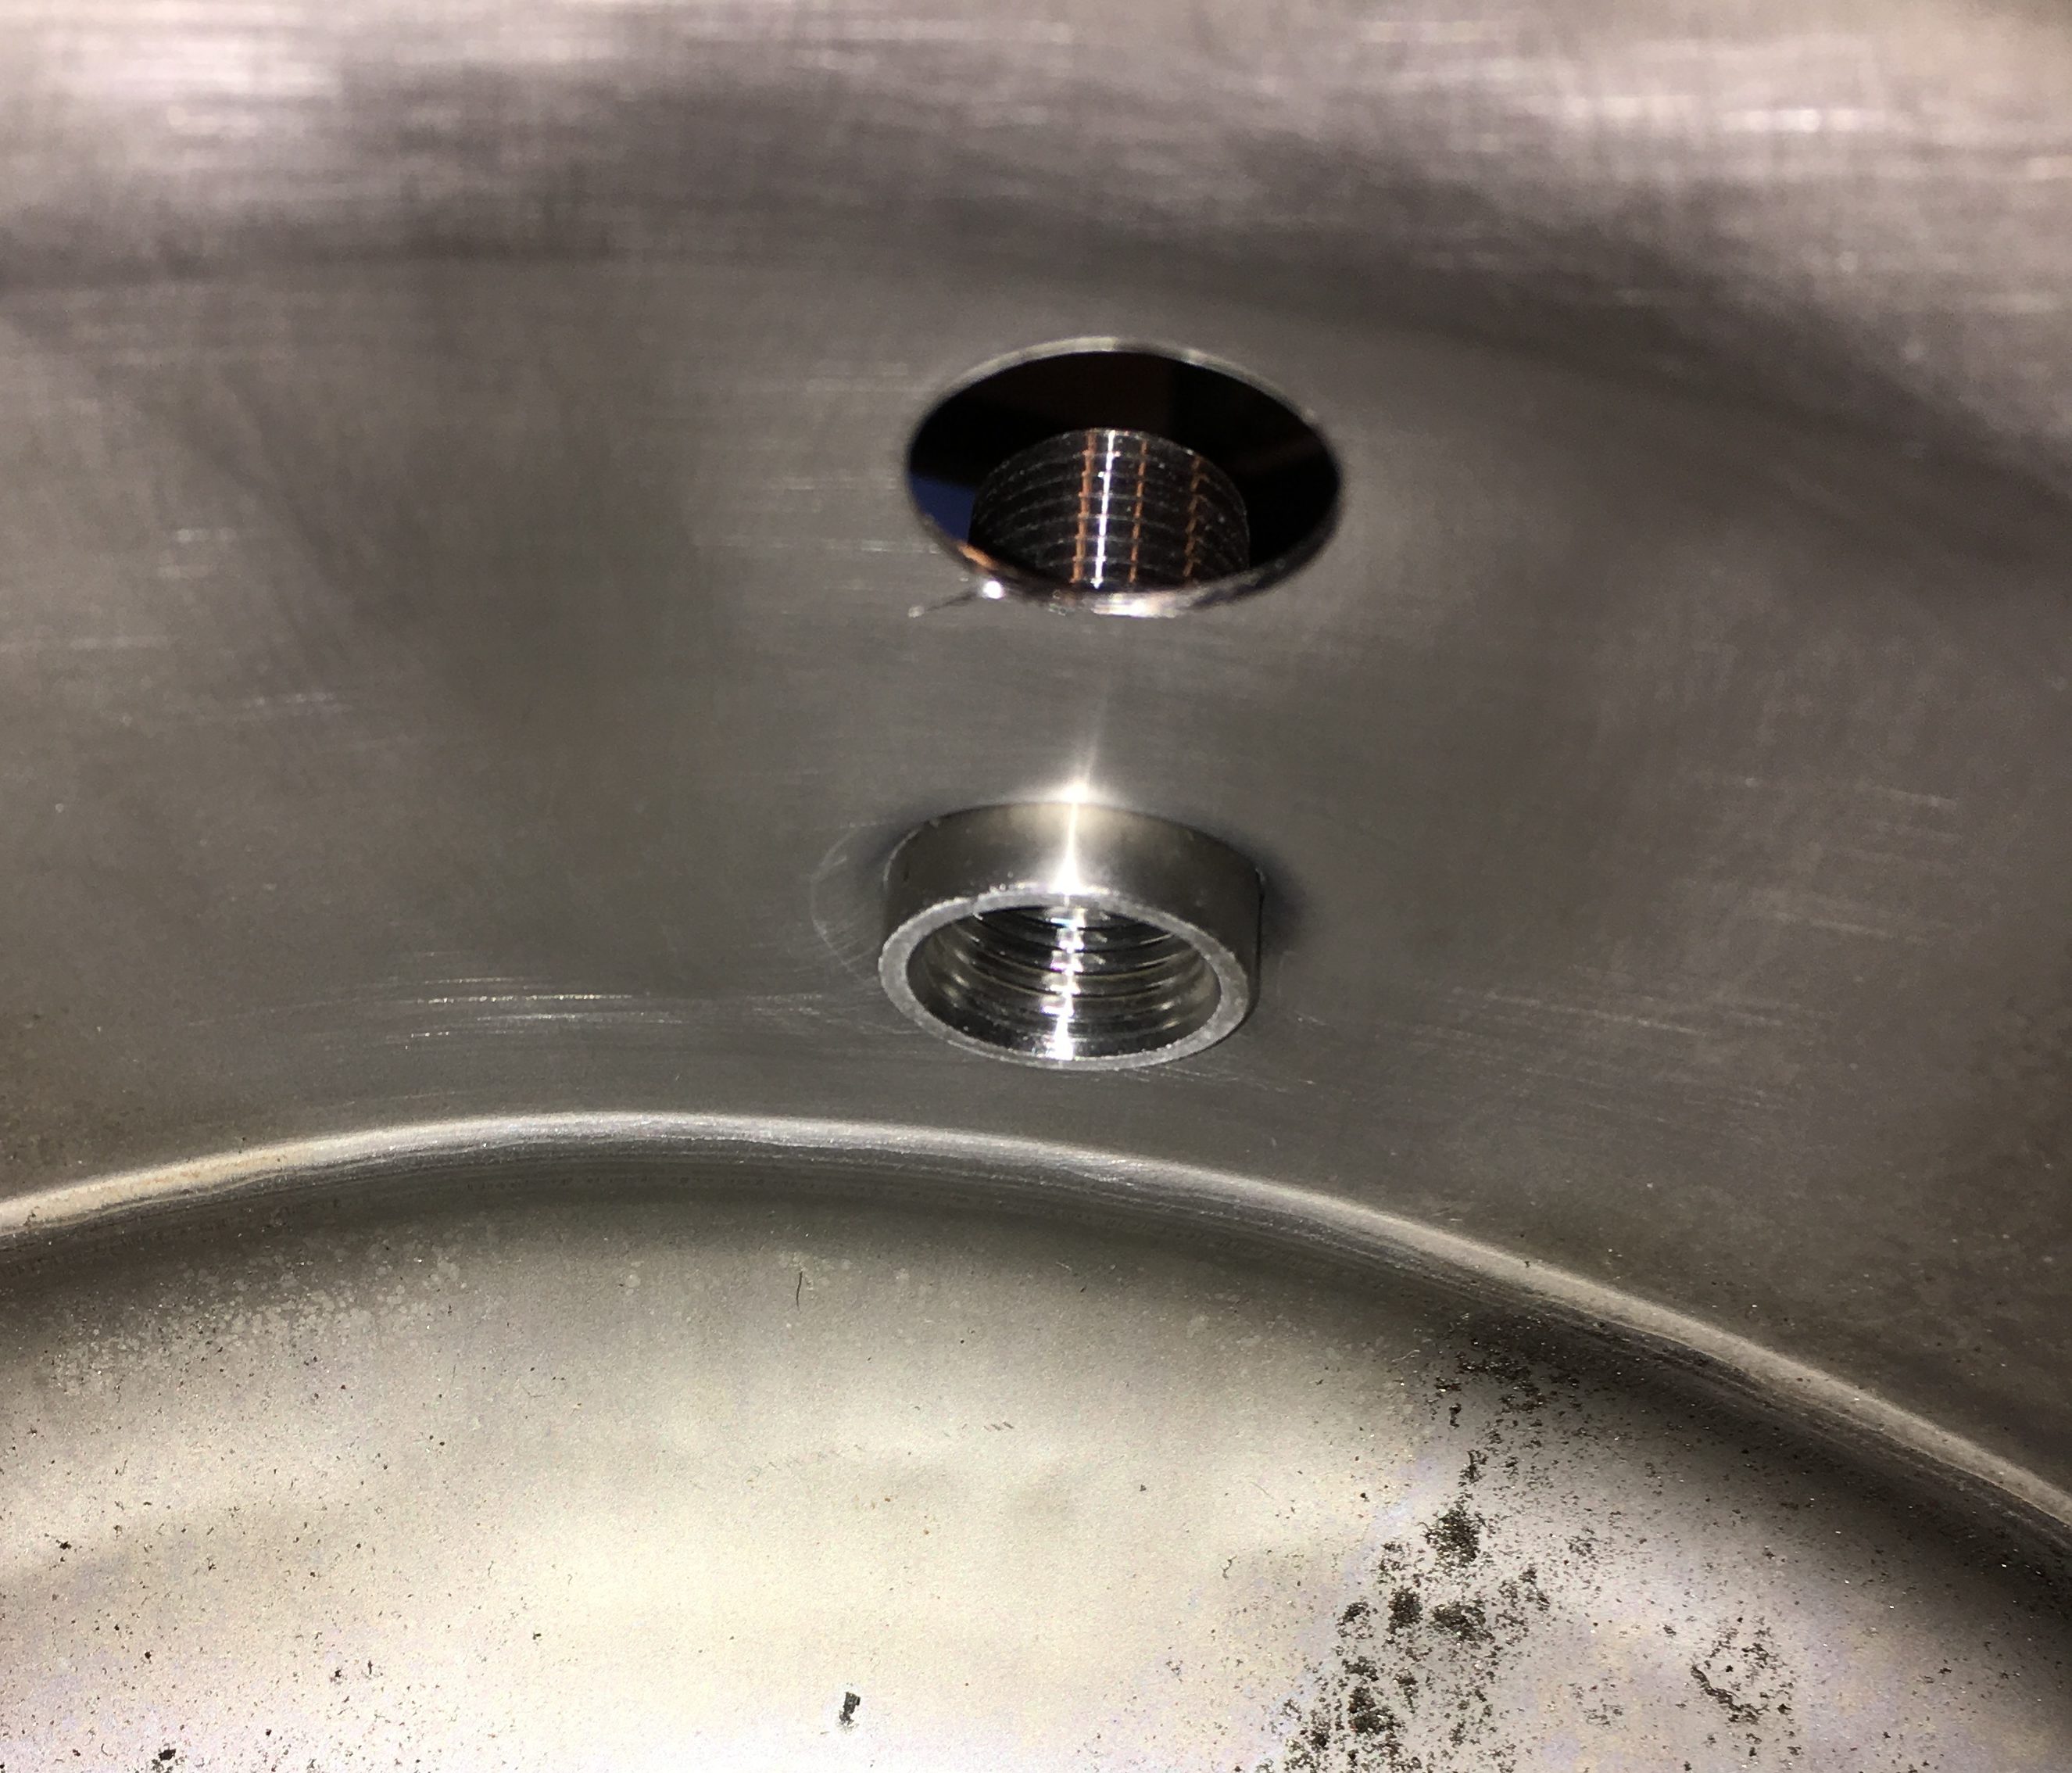 more silver the better. A little trick is to wrap a couple rings of solder wire around the fitting and let it rest there with the flux while you heat the vessel and fitting from the outside. This ensures an even wetting and bonding between the two.
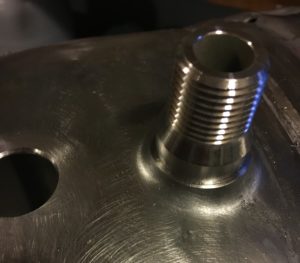
The welding spud should drop into the hole you drilled/punched for it. Do a similar sanding, but on the outside kettle wall, and clean the vessel and spud with acetone. A couple of wraps again with the solder and flux, then when you heat, the flanged bottom of the fitting should drop into the hole when the solder melts creating a tight fit. Clean up the flux, and I like to hit the soldered area with a stainless steel wire disc on my Dremel to clean up and smooth out the joint.
The hard part is done!
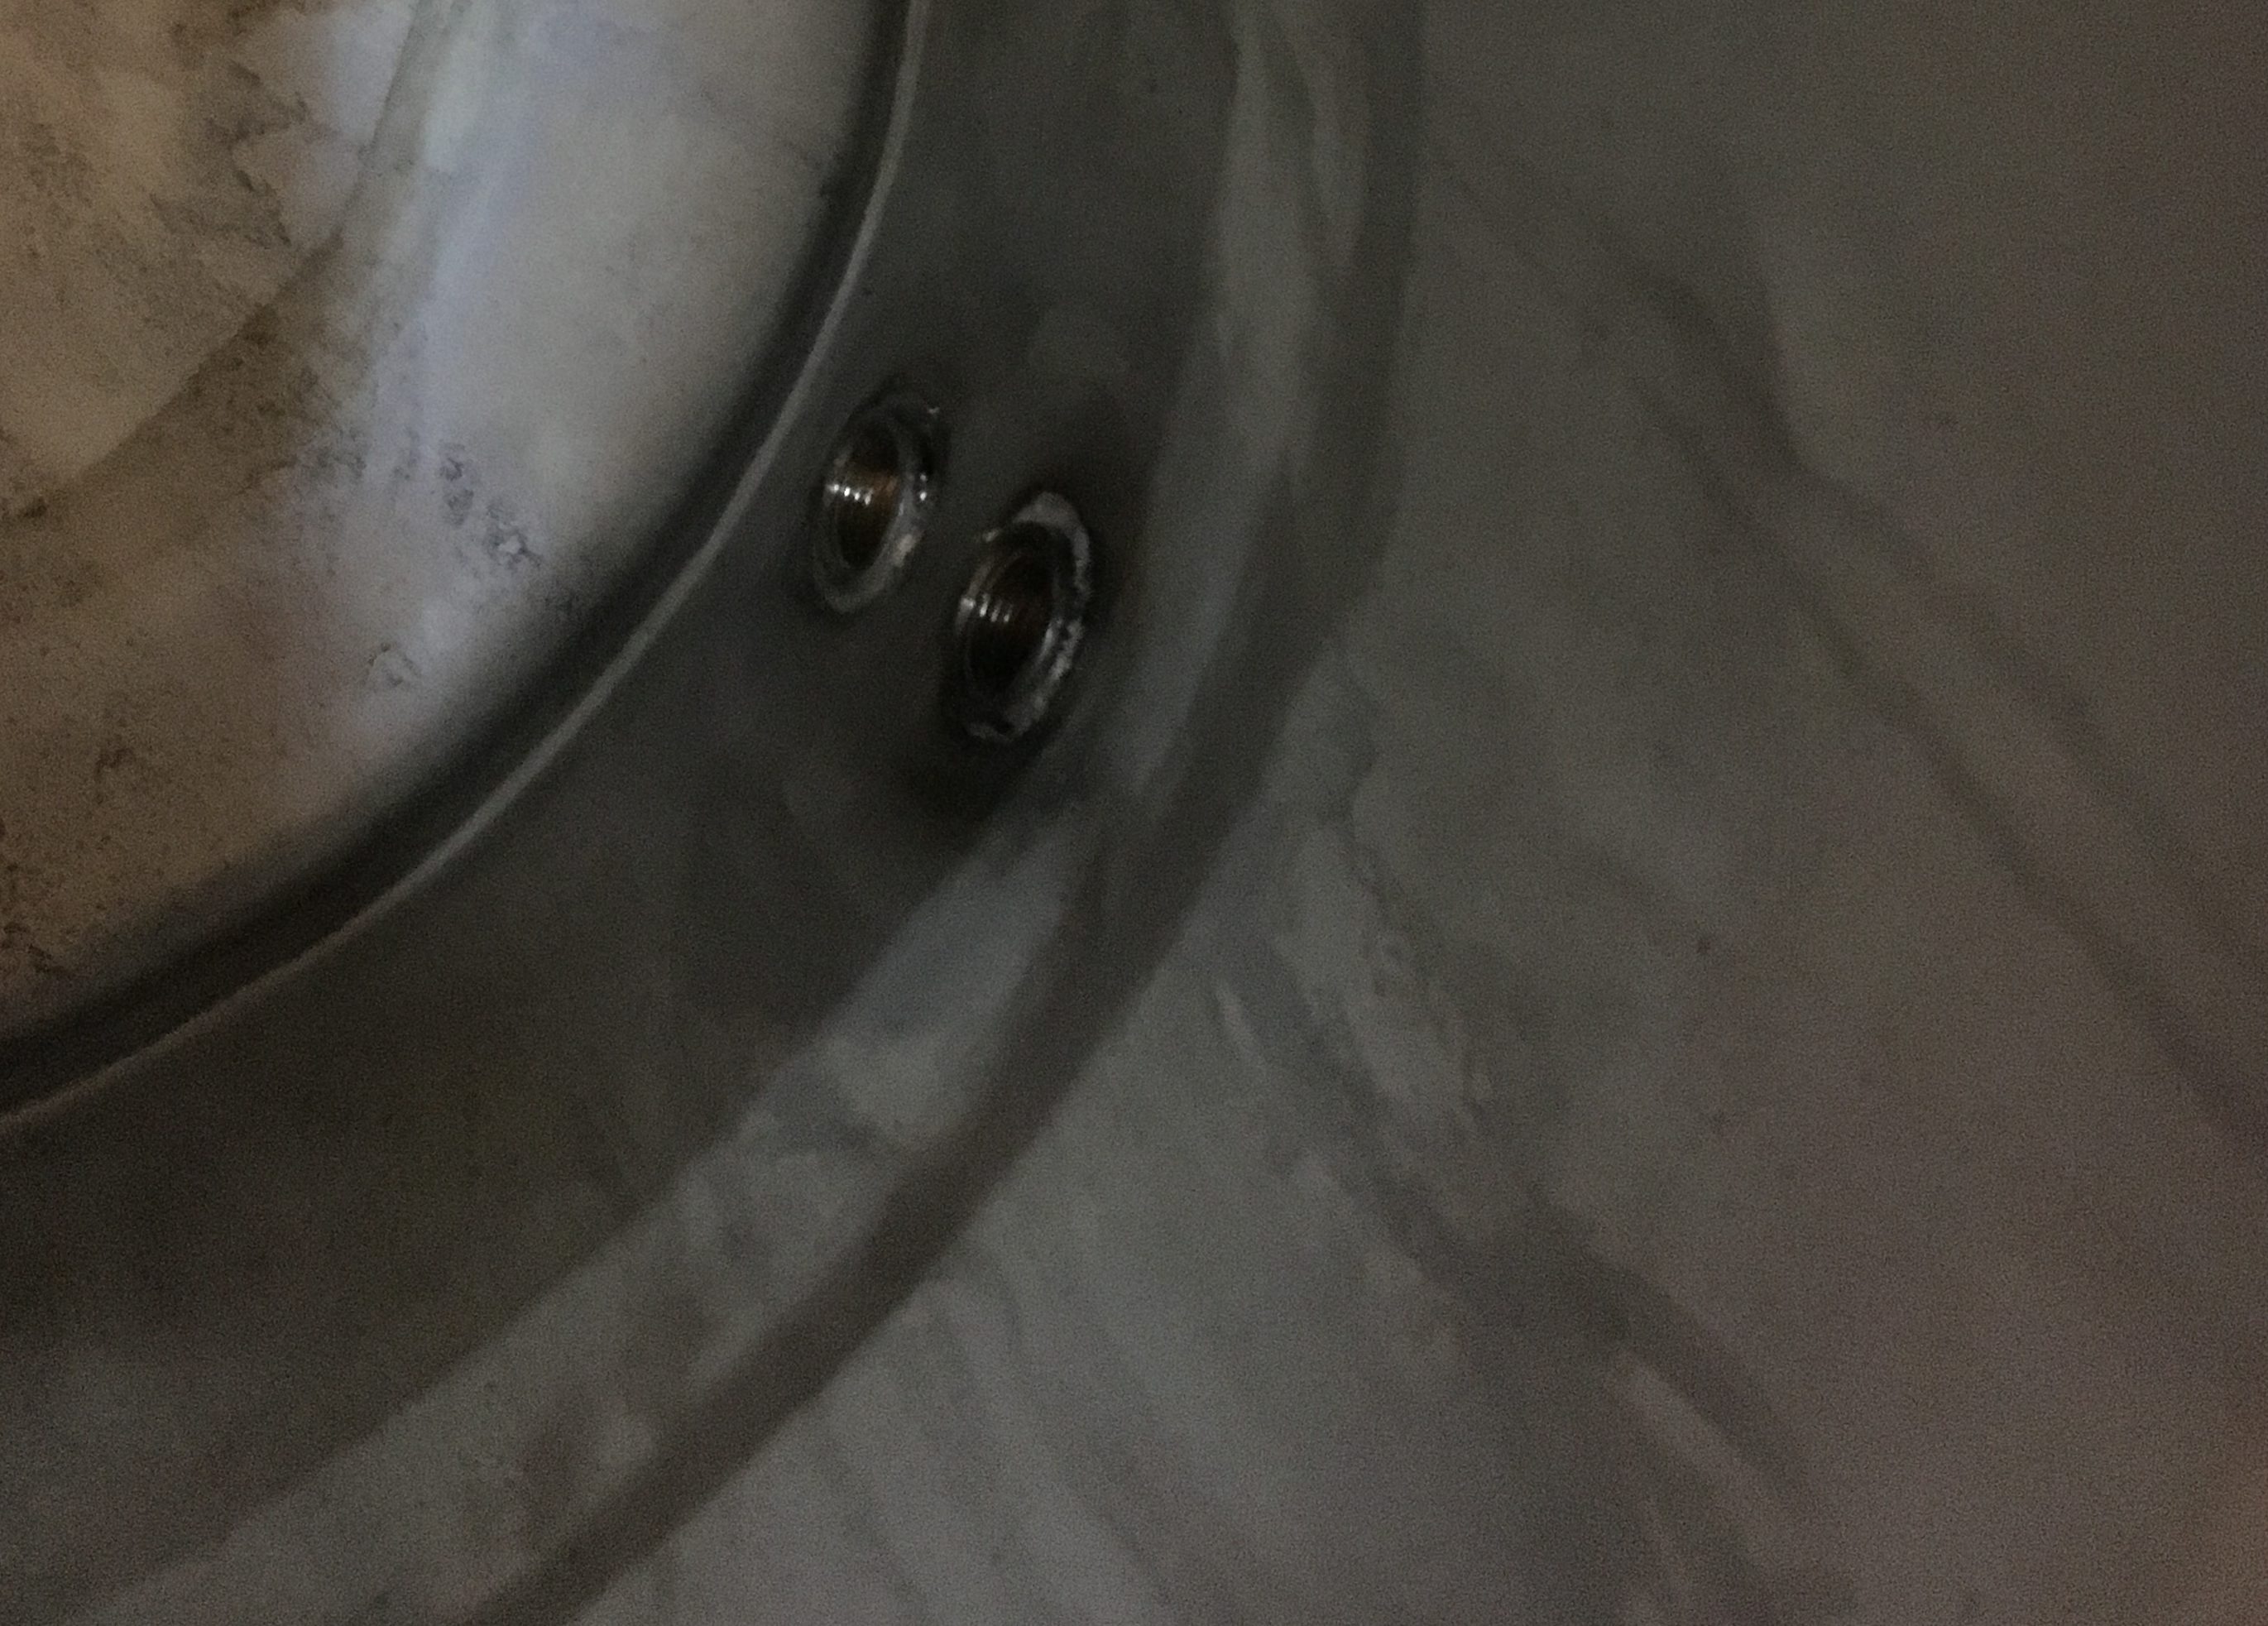
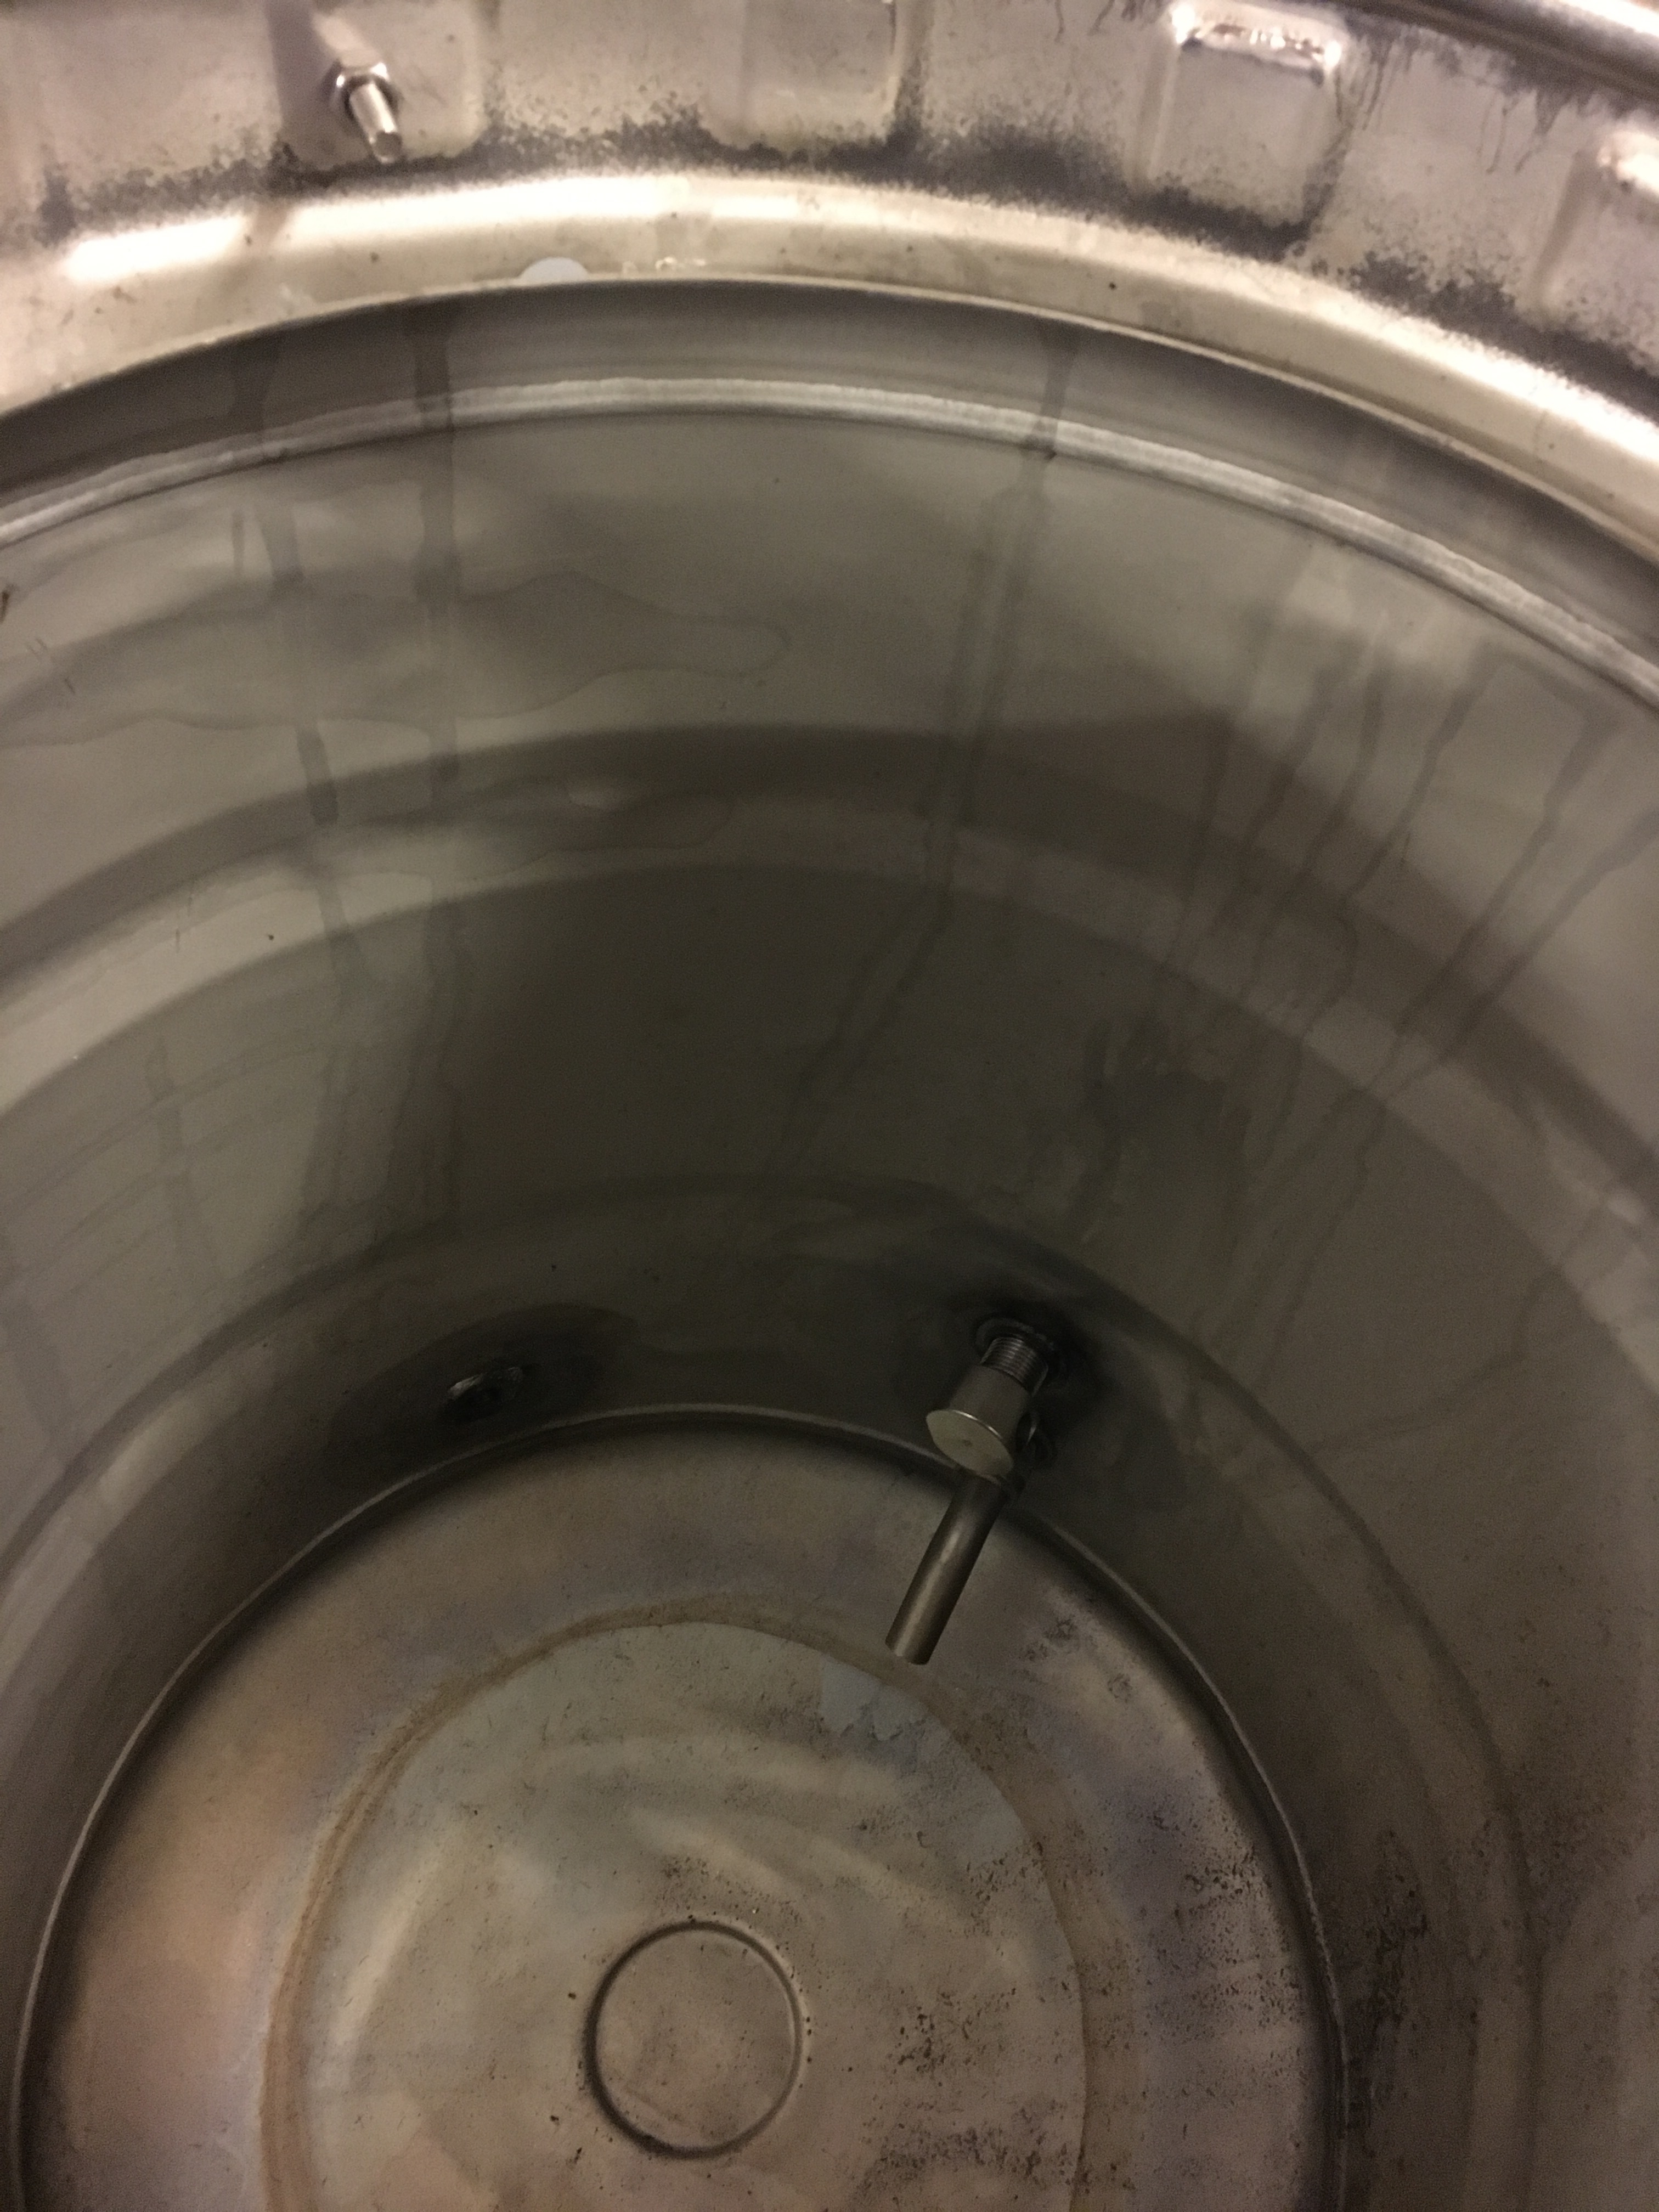
Now we have removed the three hardest places in this boil kettle to prevent leaks: the seal between the gasket and wall of the vessel, and the path through the threads from the inside to the outside ball valve on many weldless bulkheads. These are also perfect for adding in dip tubes and whirlpool ports without the need for additional couplings since they are female NPT on the inside and male NPT on the outside – perfect for 2 and 3 piece ball vales.
My second to last step is one more dry fit of everything to make sure it all still lines up. The final step (not shown here) is to fill in measured increments to mark off the sight gage.
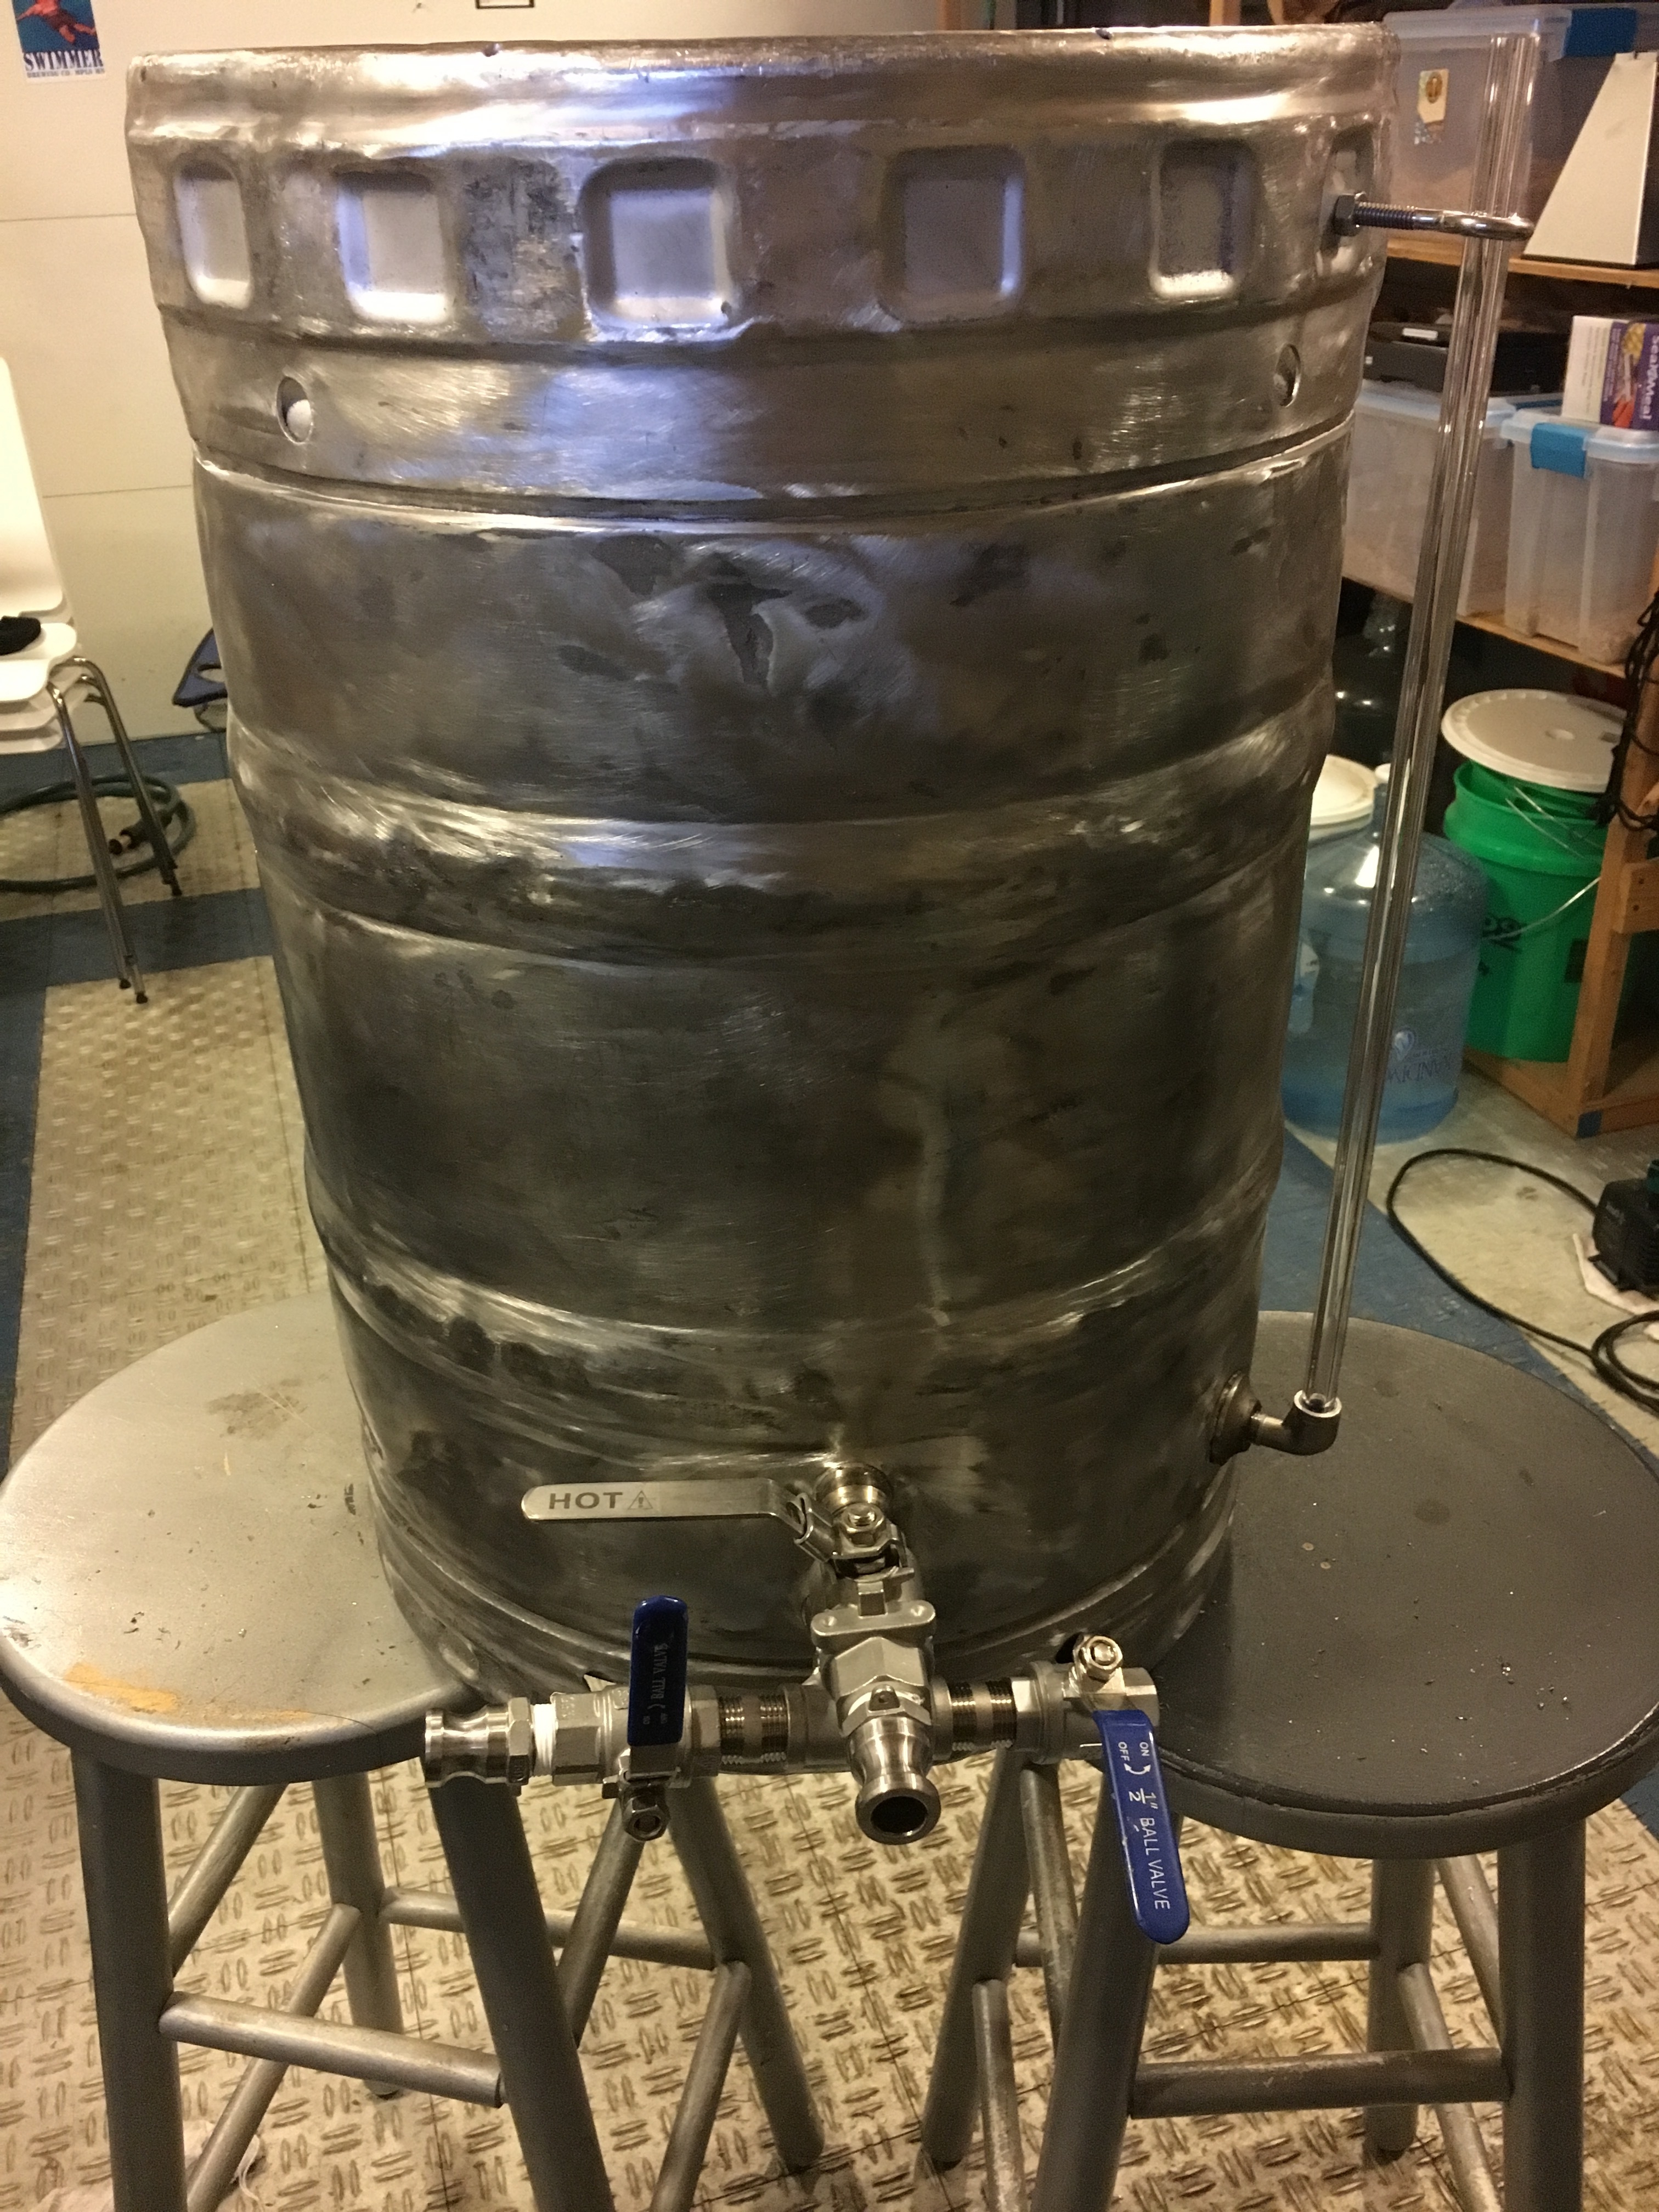
And we now have a half-barrel boil kettle with soldered bulkheads!