Over the course of our barrel projects we have built a number of barrel racks. We are not saying this is the best way to do it or even the ‘right’ way to do it, but the is how we have done it and it has worked for years for us.
Step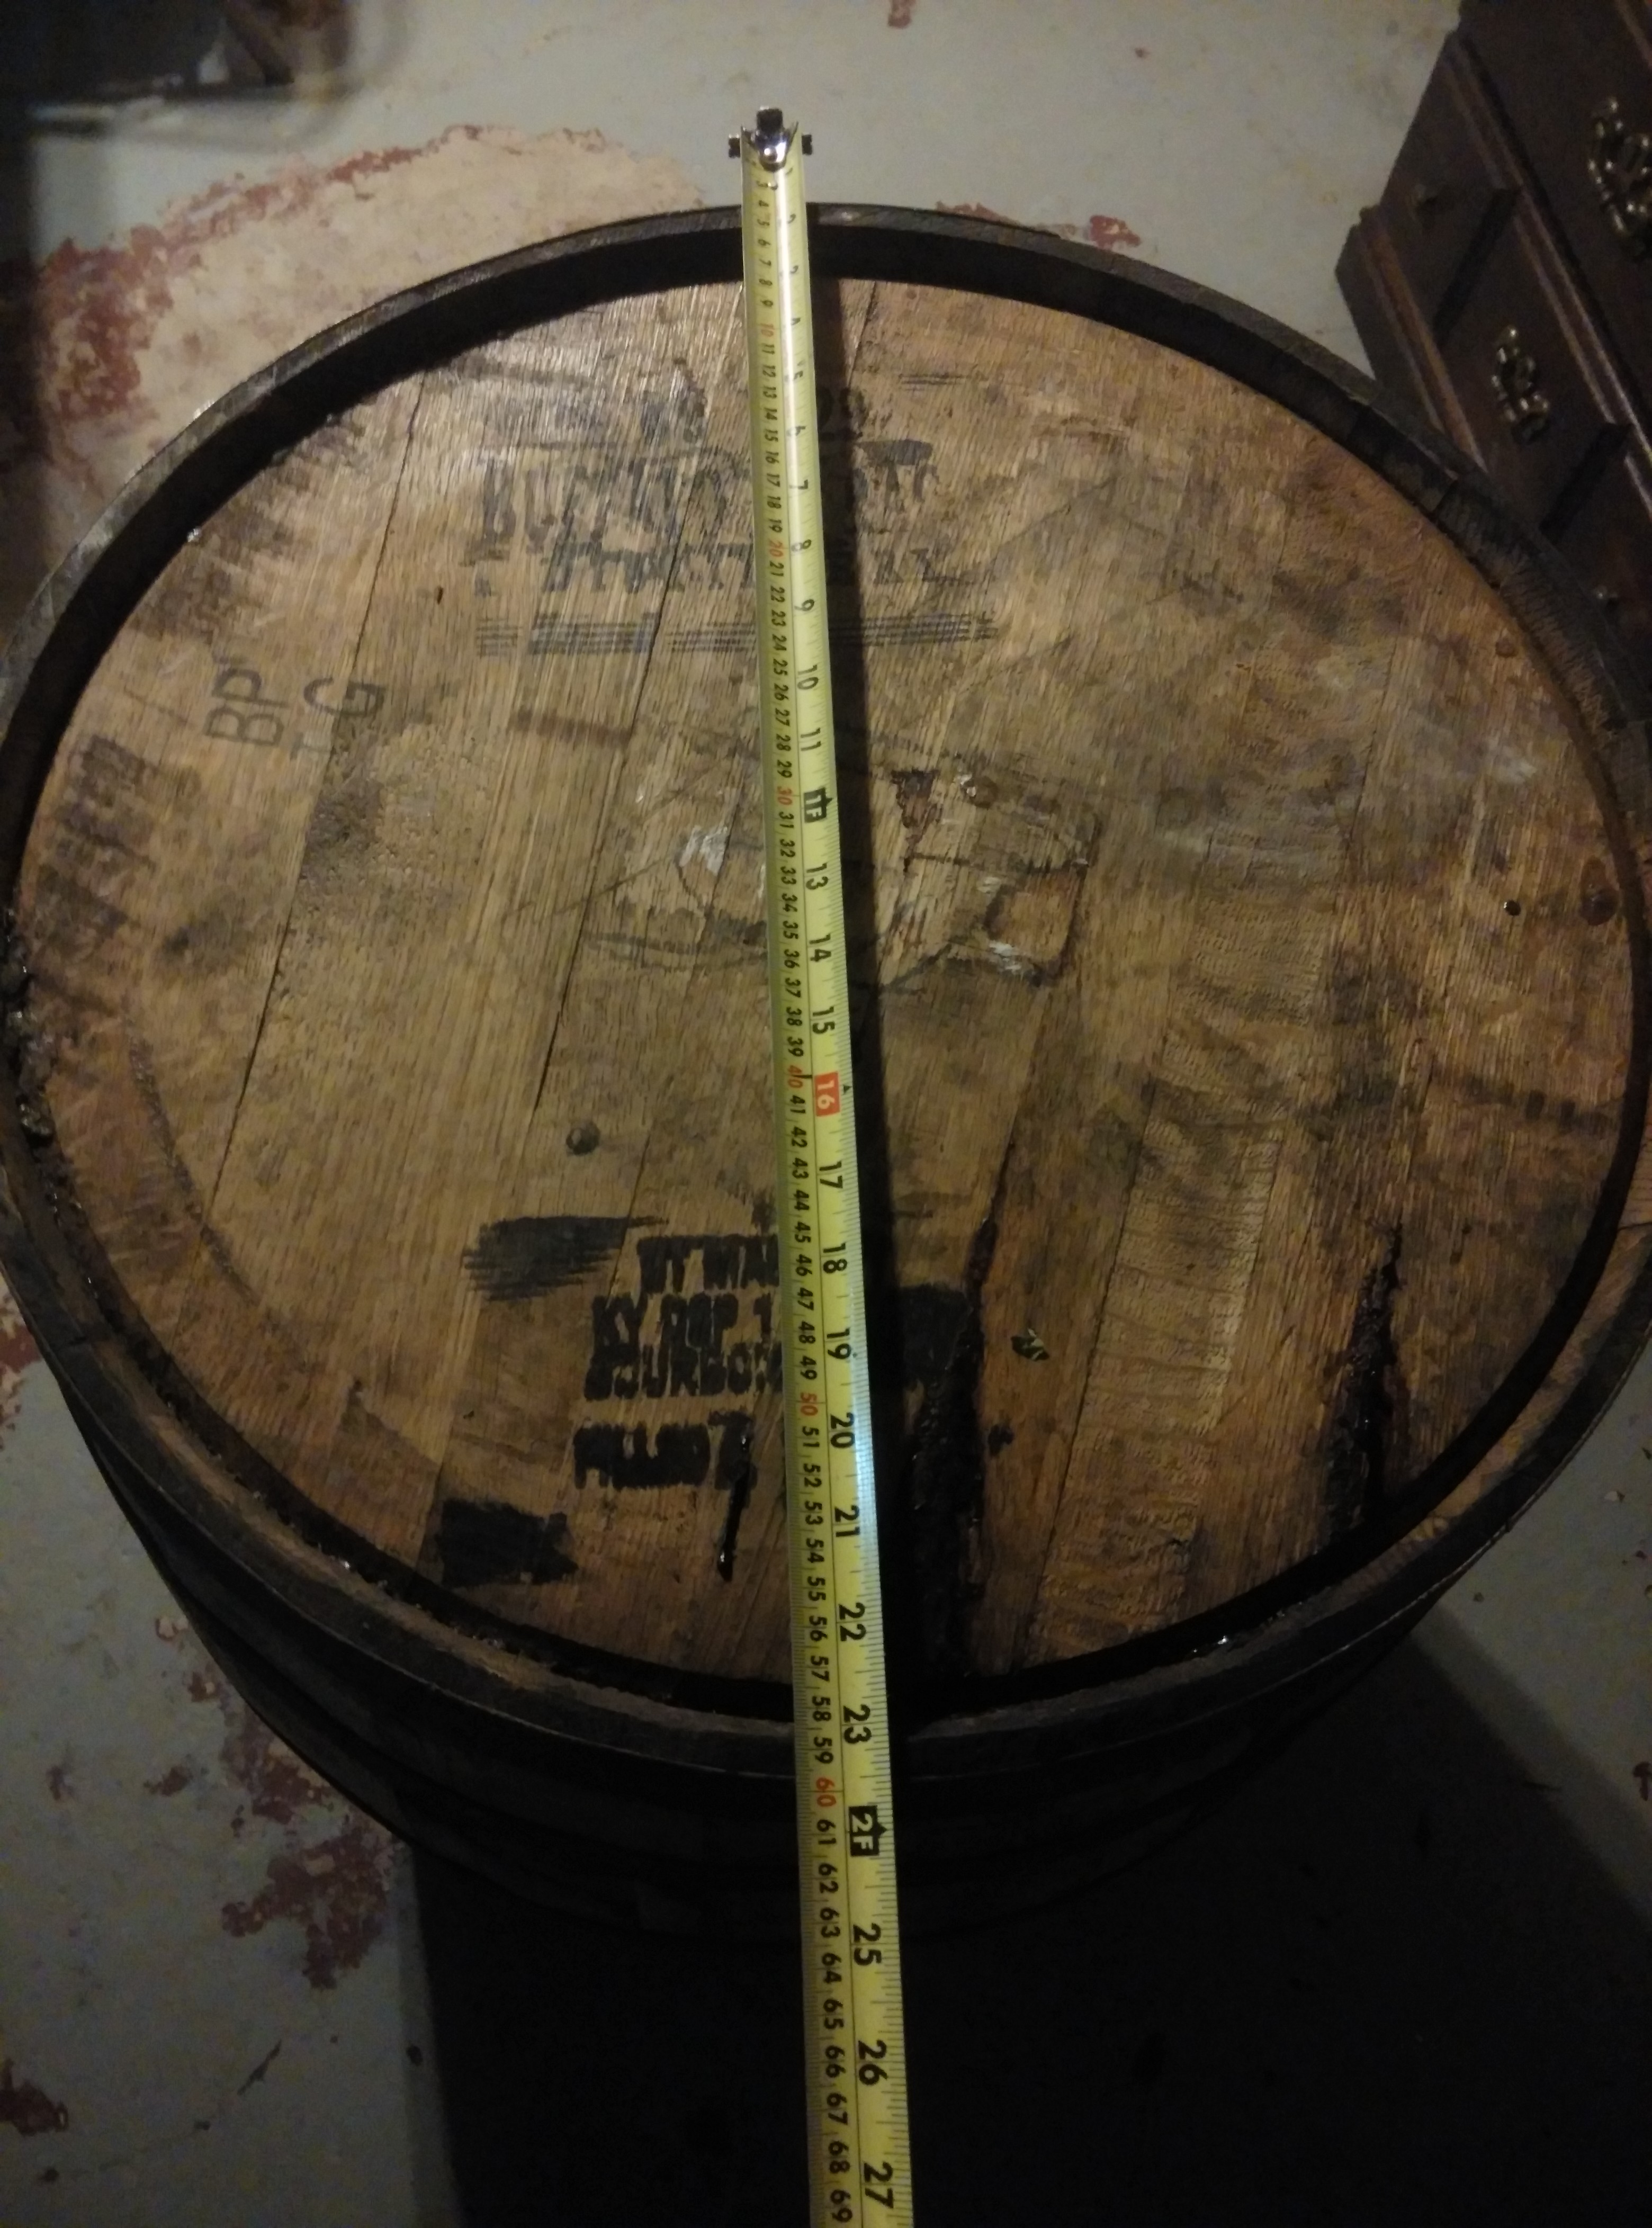 1. Measure your barrel.
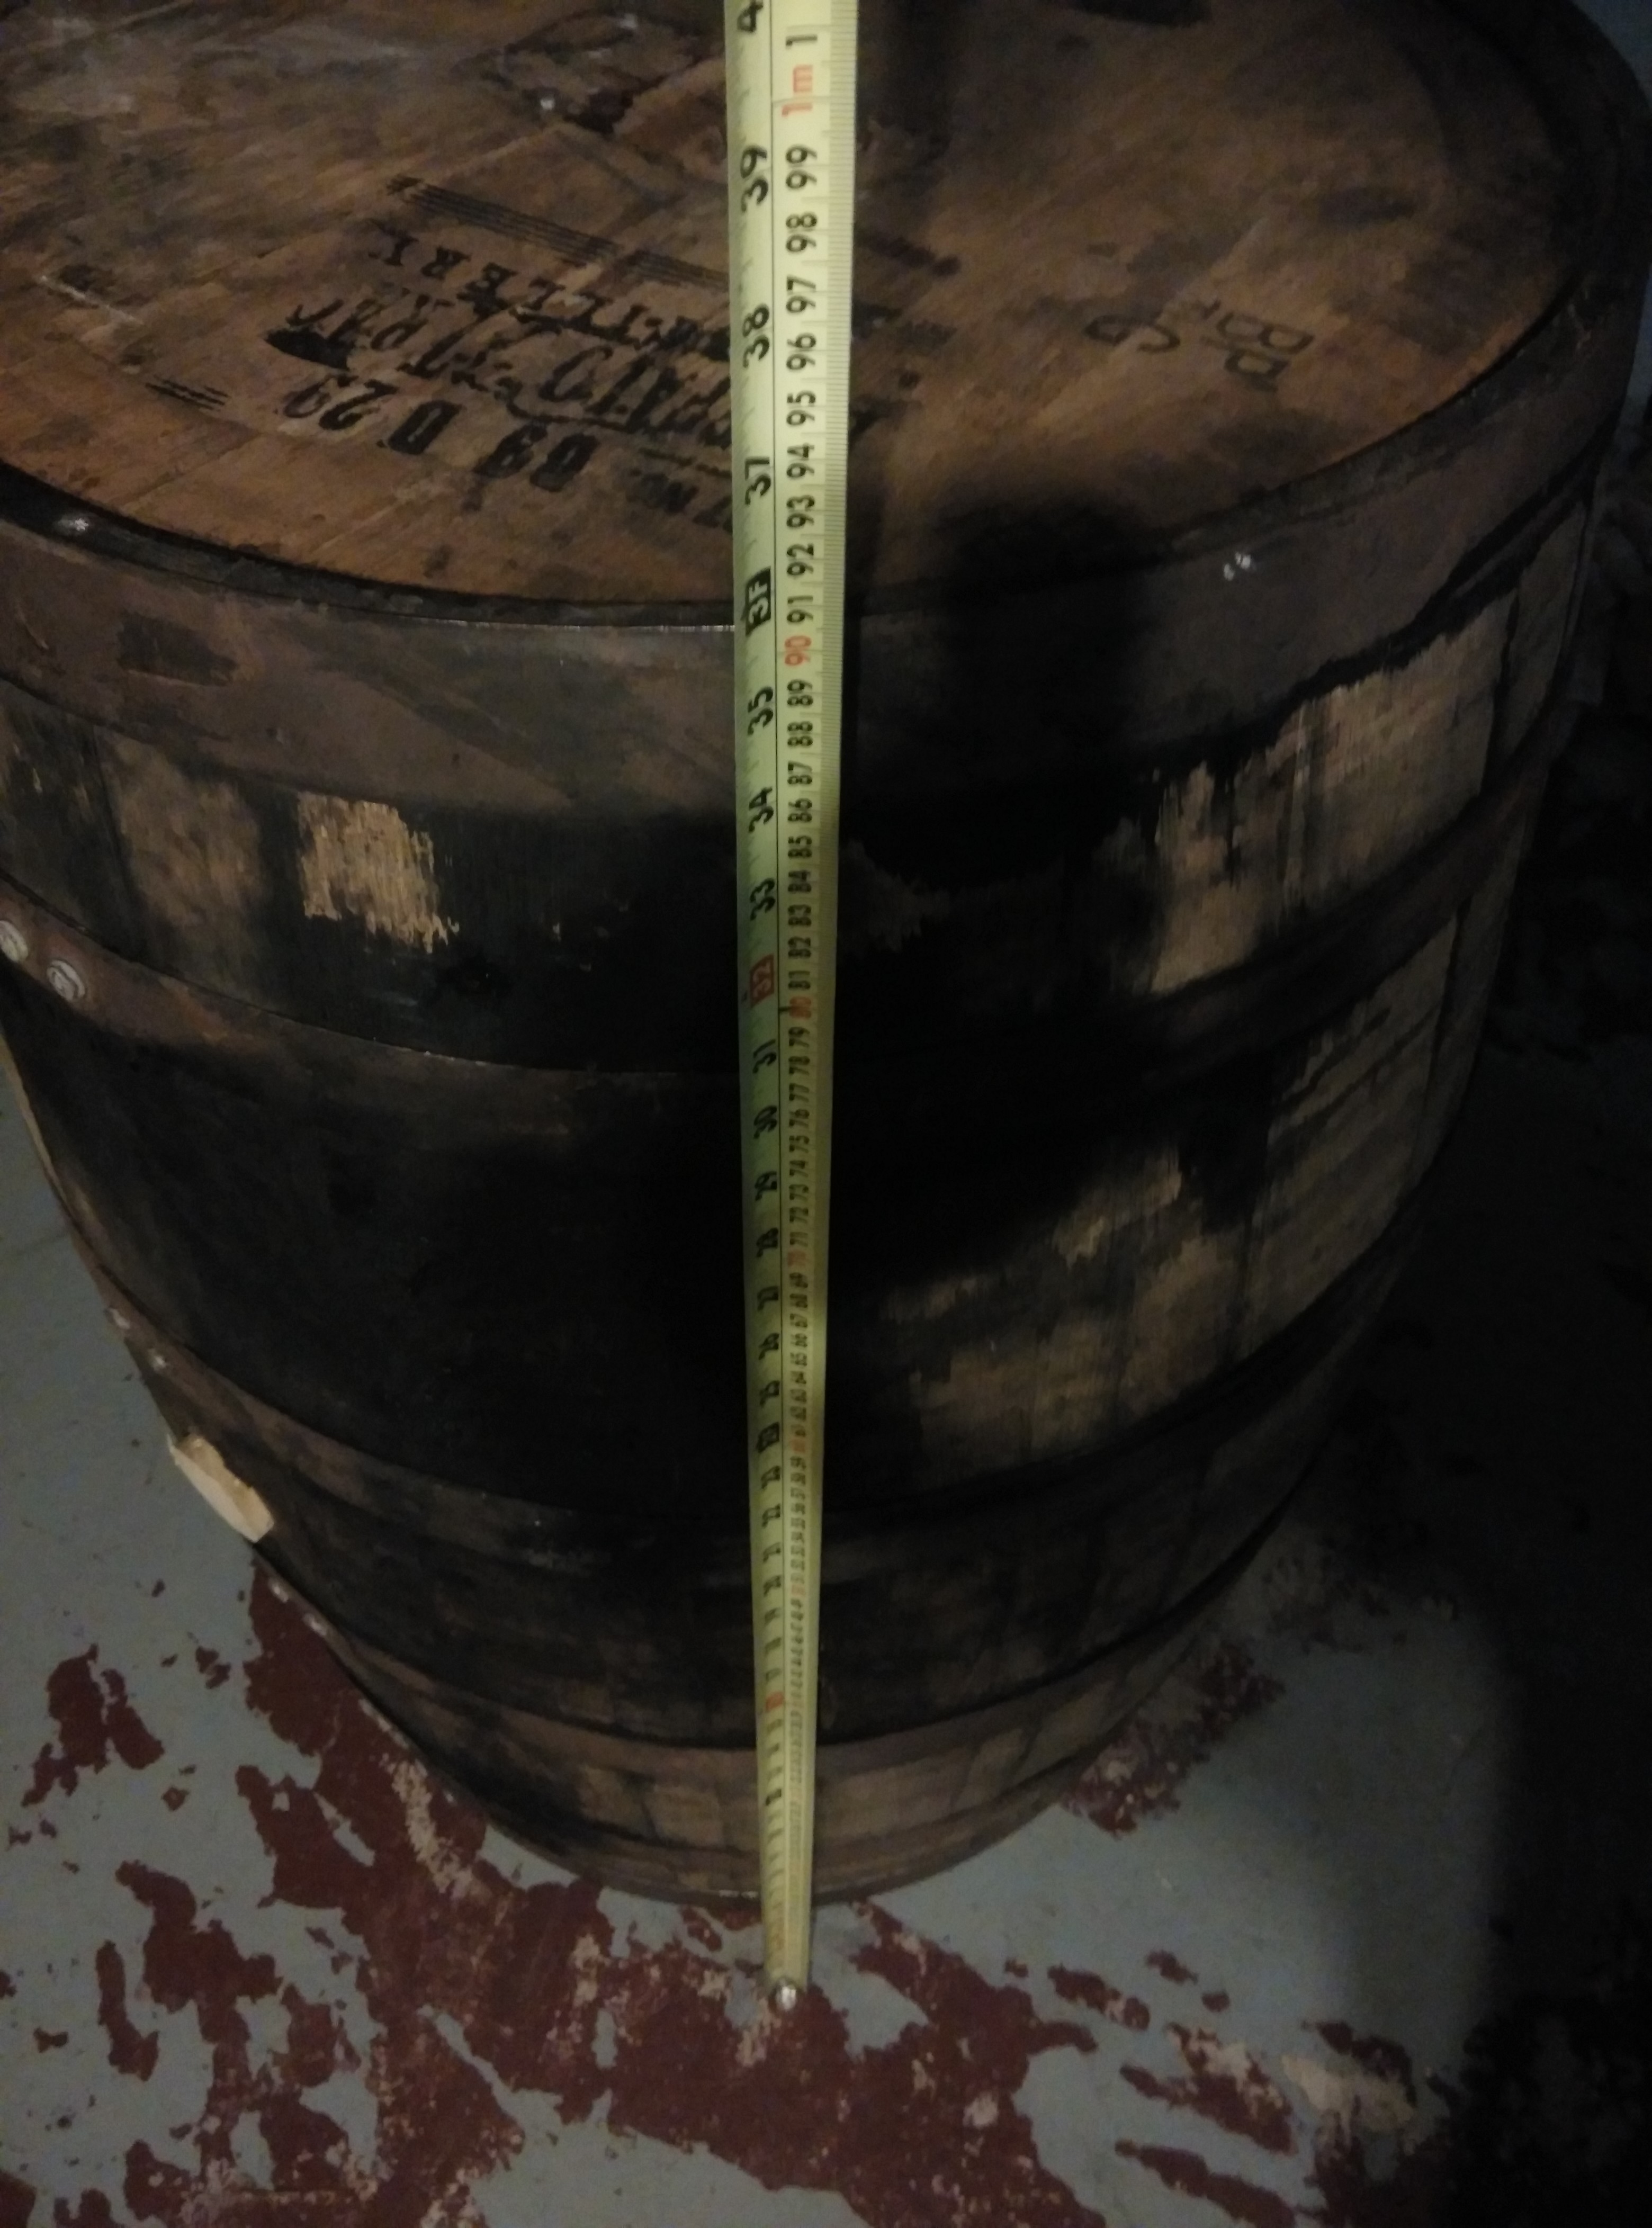
Barrels come in many sizes and your rack should fit your barrel. We start by measuring the length and width of the barrel to give us the frame size. Make sure to measure the widest part of the barrel, not just the head.
Step 2. Build your frame.
We like 2 x 6’s for the frame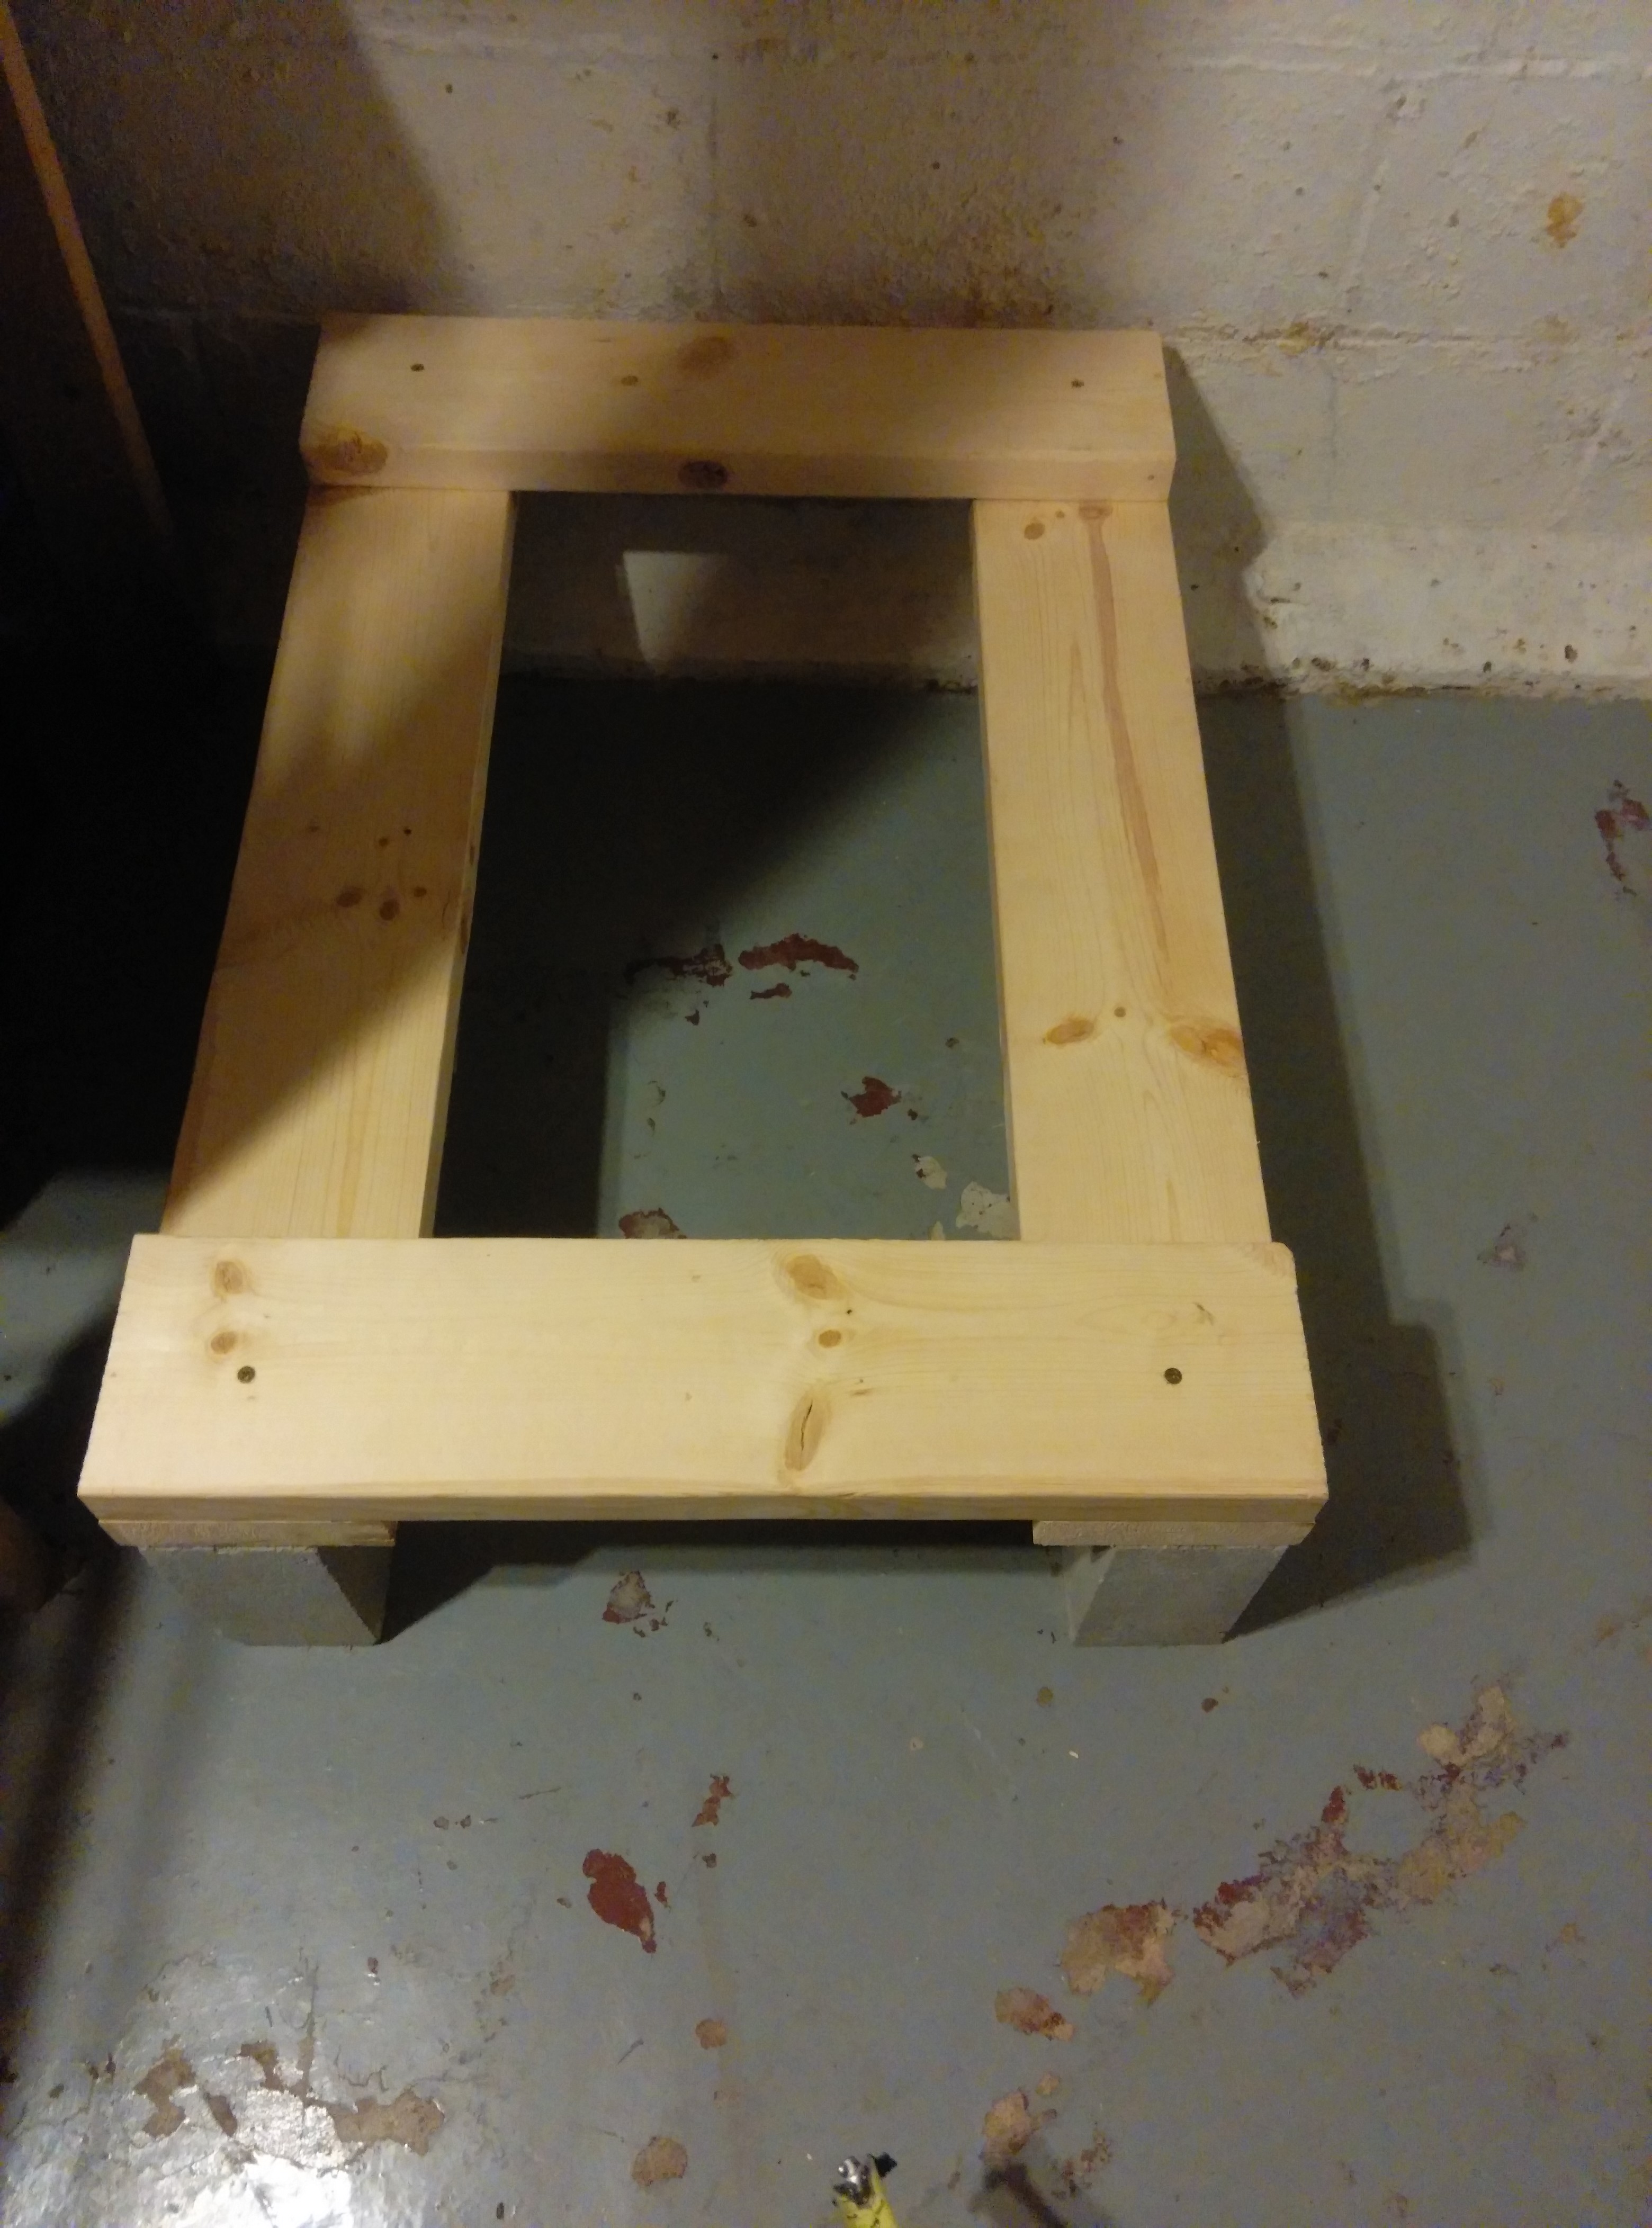 . They add strength and provide a large area to secure the cleats. Cut your 2 x 6’s to the measurements taken in step 1. Fasten these into a rectangle with the shorter pieces on the top. Make sure that the frame is square by measuring from corner to opposite corner and repeating on the other side ( in the form of an X) and ensuring they are they same. At this time you can choose what to put your frame on. Here we have picked concrete block. You can also use casters or large wood blocks. Make sure what you choose is rated to hold the weight of your full barrel.
Step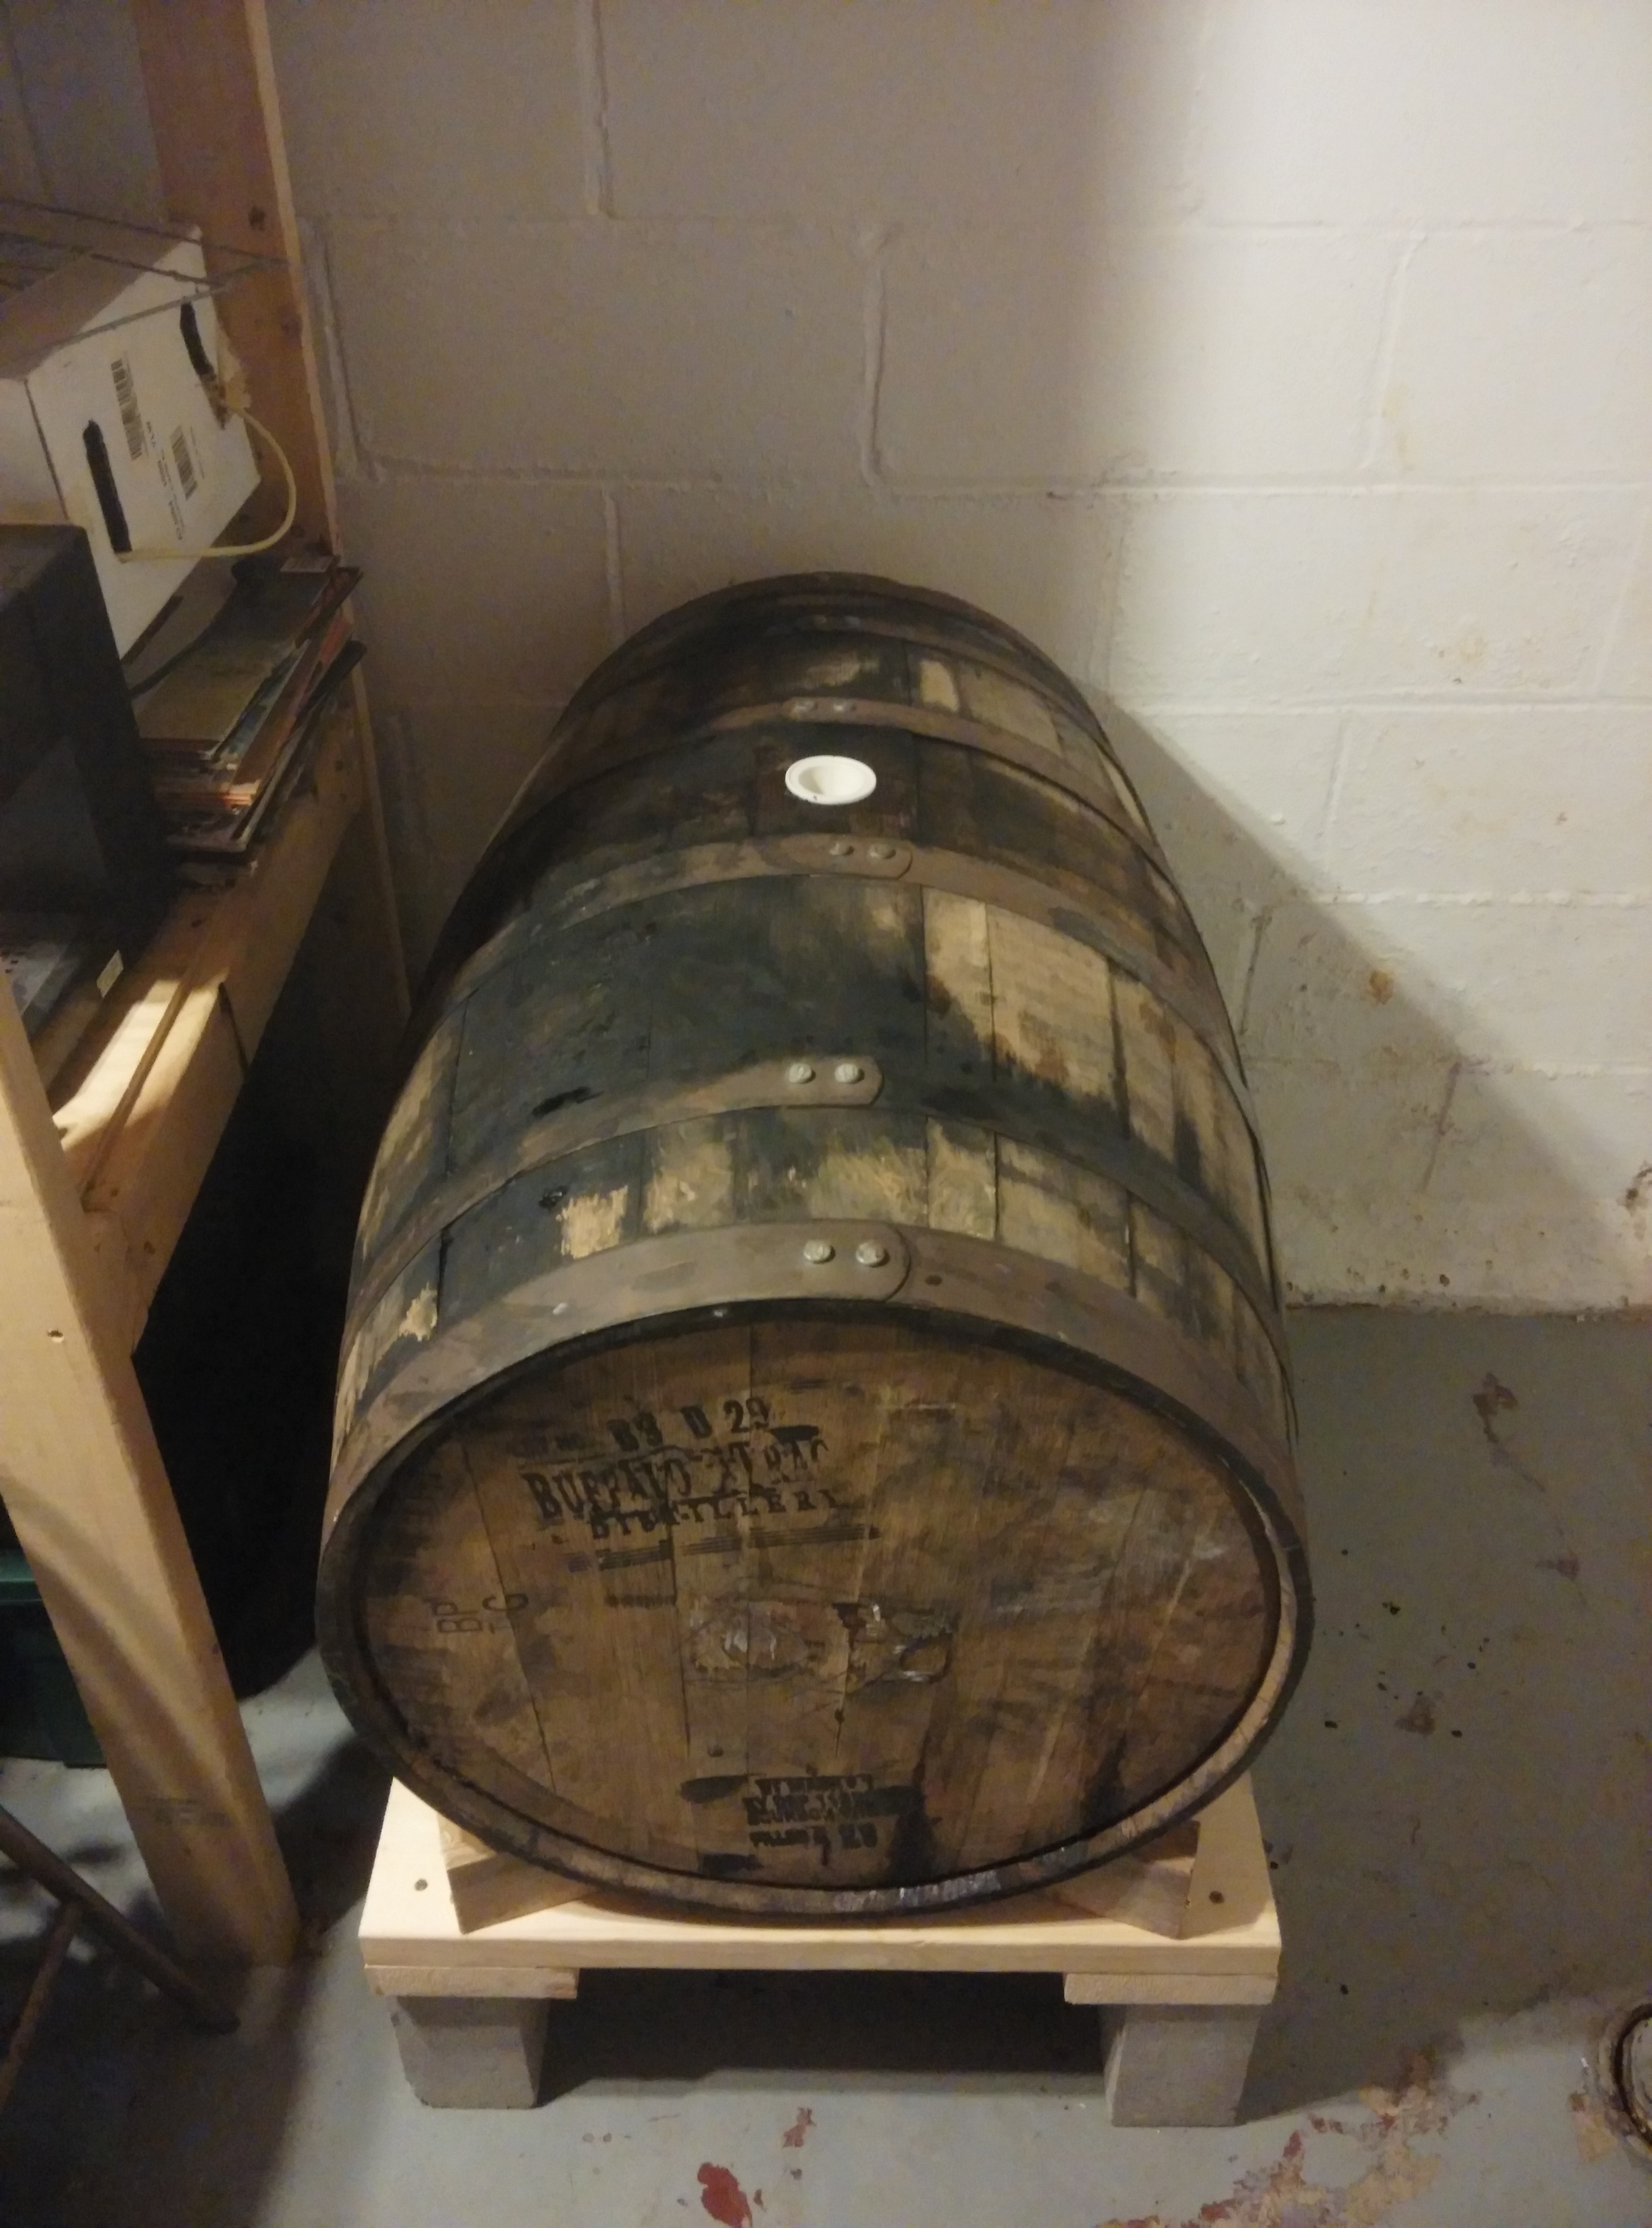 3. Secure the cleats.
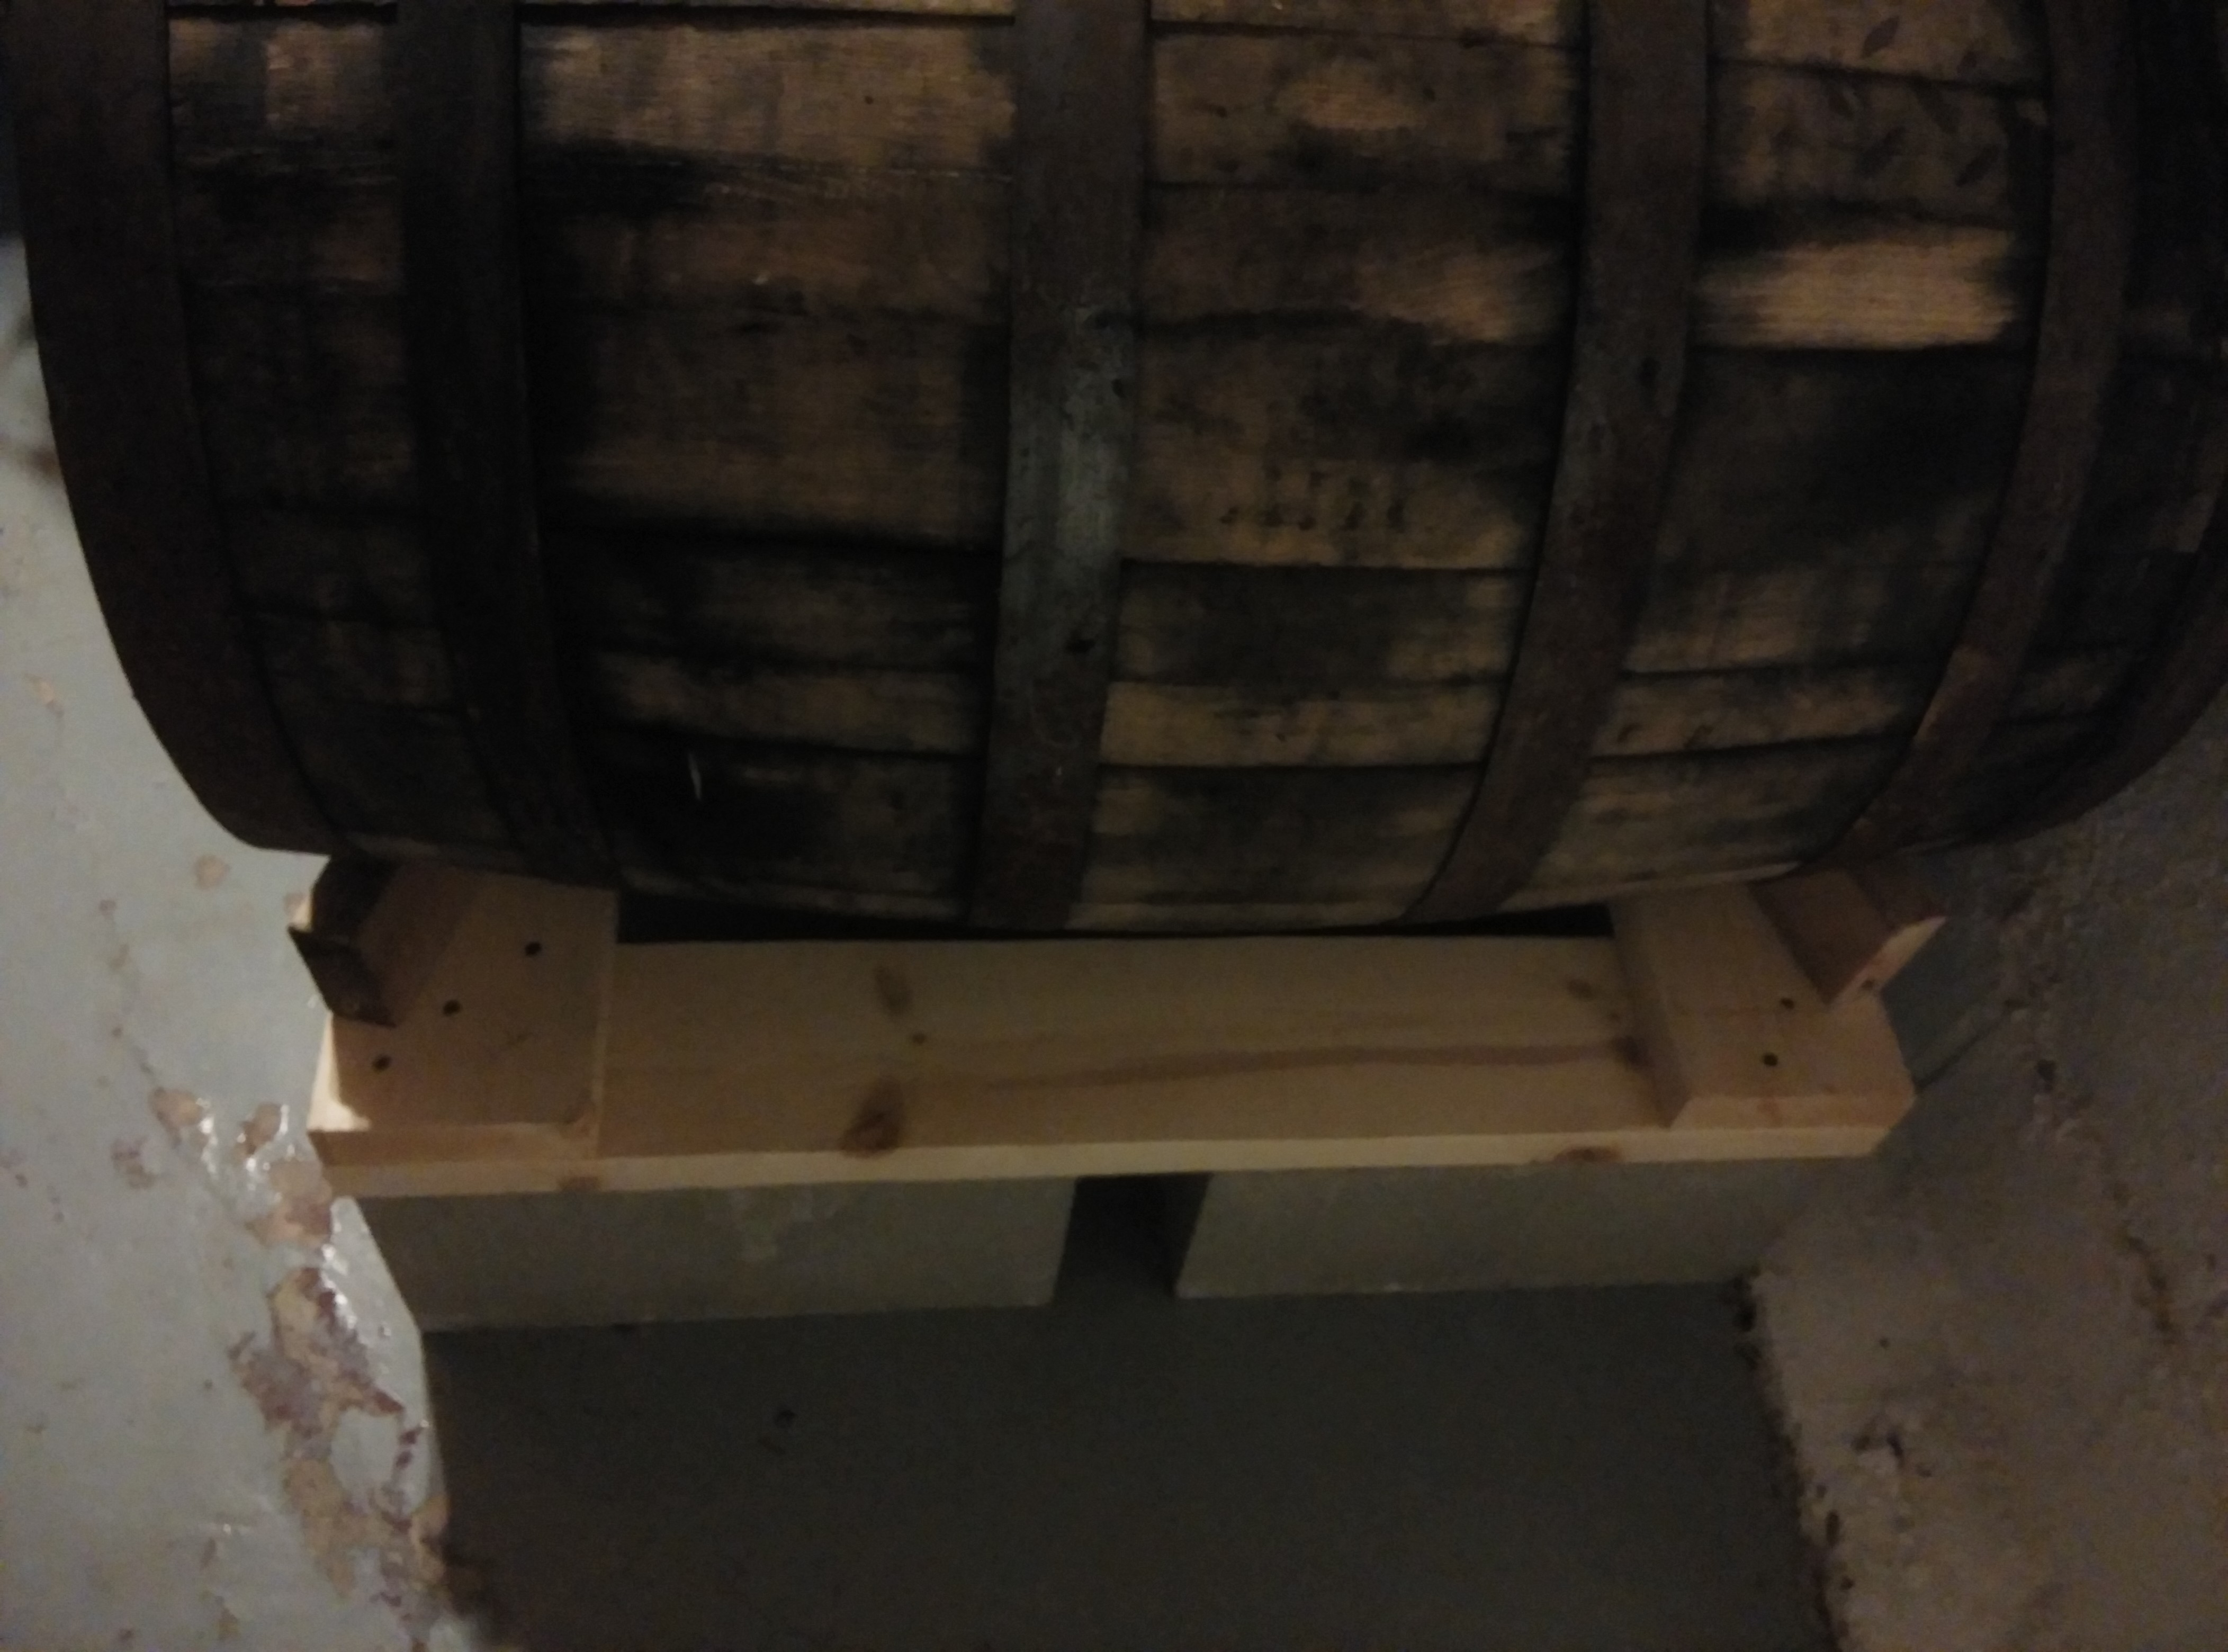
This is the hardest and most important step. You want to make sure that you have three points of contact on the barrel at the front and back. One point on each cleat and one point on the frame. This will help distribute the load and reduce stress on the barrel. Make the cleats by cutting triangle pieces out of your scrape 2 x 6s. To place the cleats, set the empty barrel on the frame and slide the cleats in from the side until you just start to lift the barrel. Having a second person hold the barrel helps during this process. Secure the cleats well with at least two screws.
Step 4. Fill the barrel!
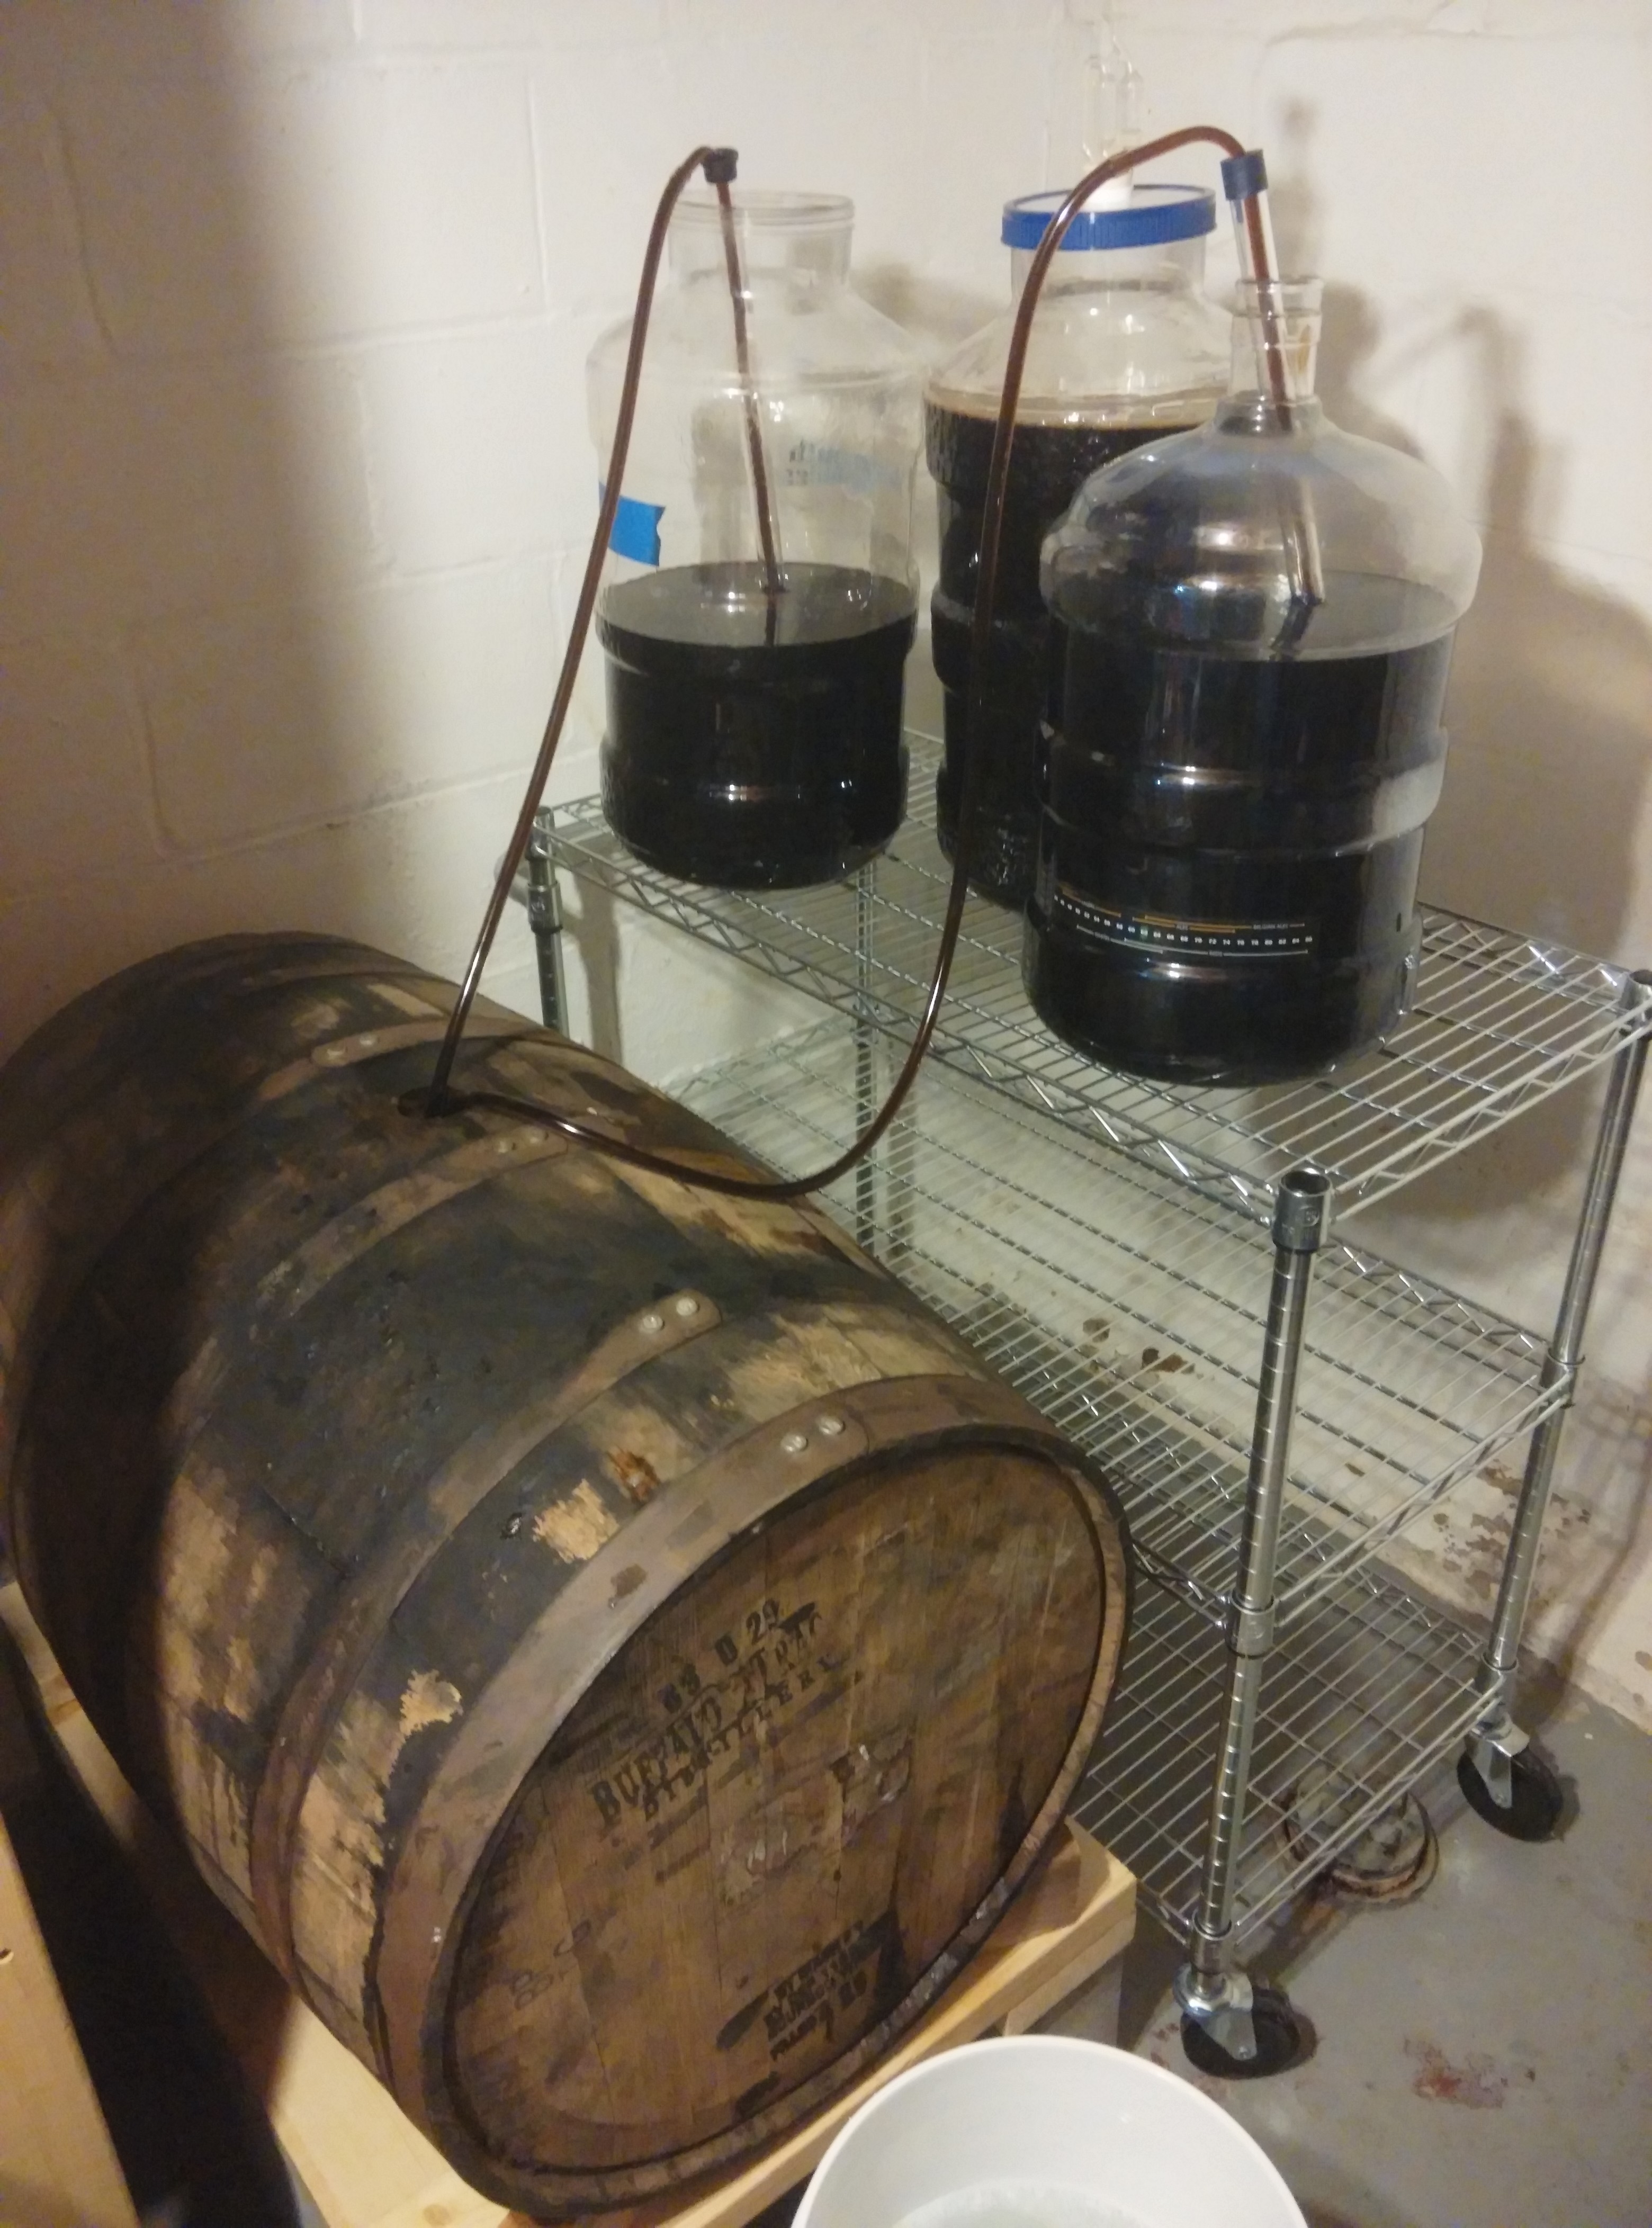
Good luck barrel aging your beer! Cheers!